Crafting a Cornice
By Lorenzo Short, Summer 2025 Research & Collections Intern
This summer, the once silent Menokin ruin has come alive through the work of our stone masonry restoration team, Dominion Traditional Building Group, who have applied their expertise at significant sites across the Commonwealth.

One of the most captivating projects undertaken on-site recently is the re-fabrication of Menokin’s distinctive decorative stonework. Using both architectural documentation and surviving references, Dominion’s expert stone masons are meticulously restoring the detailed cornice work which crowns Menokin’s front entrance, placing a major piece in the evolving puzzle that is the Glass House Project.
Laying the Groundwork
Menokin did not become a ruin until it was struck by a tree in the early 1970s, meaning we have access to detailed descriptions of Menokin’s “intact” appearance resulting from an extensive survey that was conducted in the mid-20th century. The Historic American Buildings Survey (HABS), which began as a “new deal” project in 1933, sent architects and photographers across the country to fastidiously document and preserve details from historically significant buildings.
In 1940, HABS surveyors traveled to Menokin, and left in their wake comprehensive documentation, which continues to guide our architectural understanding of the structure today. The HABS work at Menokin included photographs and detailed architectural drawings of both the interior and exterior of the plantation house and the extant “office” dependency.

This image is taken from the HABS drawing of the front entrance, showing a detailed dissection of its architectural elements. Our focus here is on the above-door cornice, which sits above the door arch and keystone, and is labeled “A” in the diagram.
Note the endpieces depicted in the drawing, which project further than their surroundings, and require additional effort to fabricate–this will be discussed later.
When the survey was conducted in 1940, Menokin had already suffered the weathering of age, and the architectural drawings filled in some of the gaps, showing what the house would have looked like in pristine condition. In the image below, one can see the condition of the front entrance the HABS surveyors found on their visit, with gaps and significant chipping noticeable along the cornice. The original photo has been cropped and enlarged, and arrows pointing to the cornice have been added for the ease of illustration.

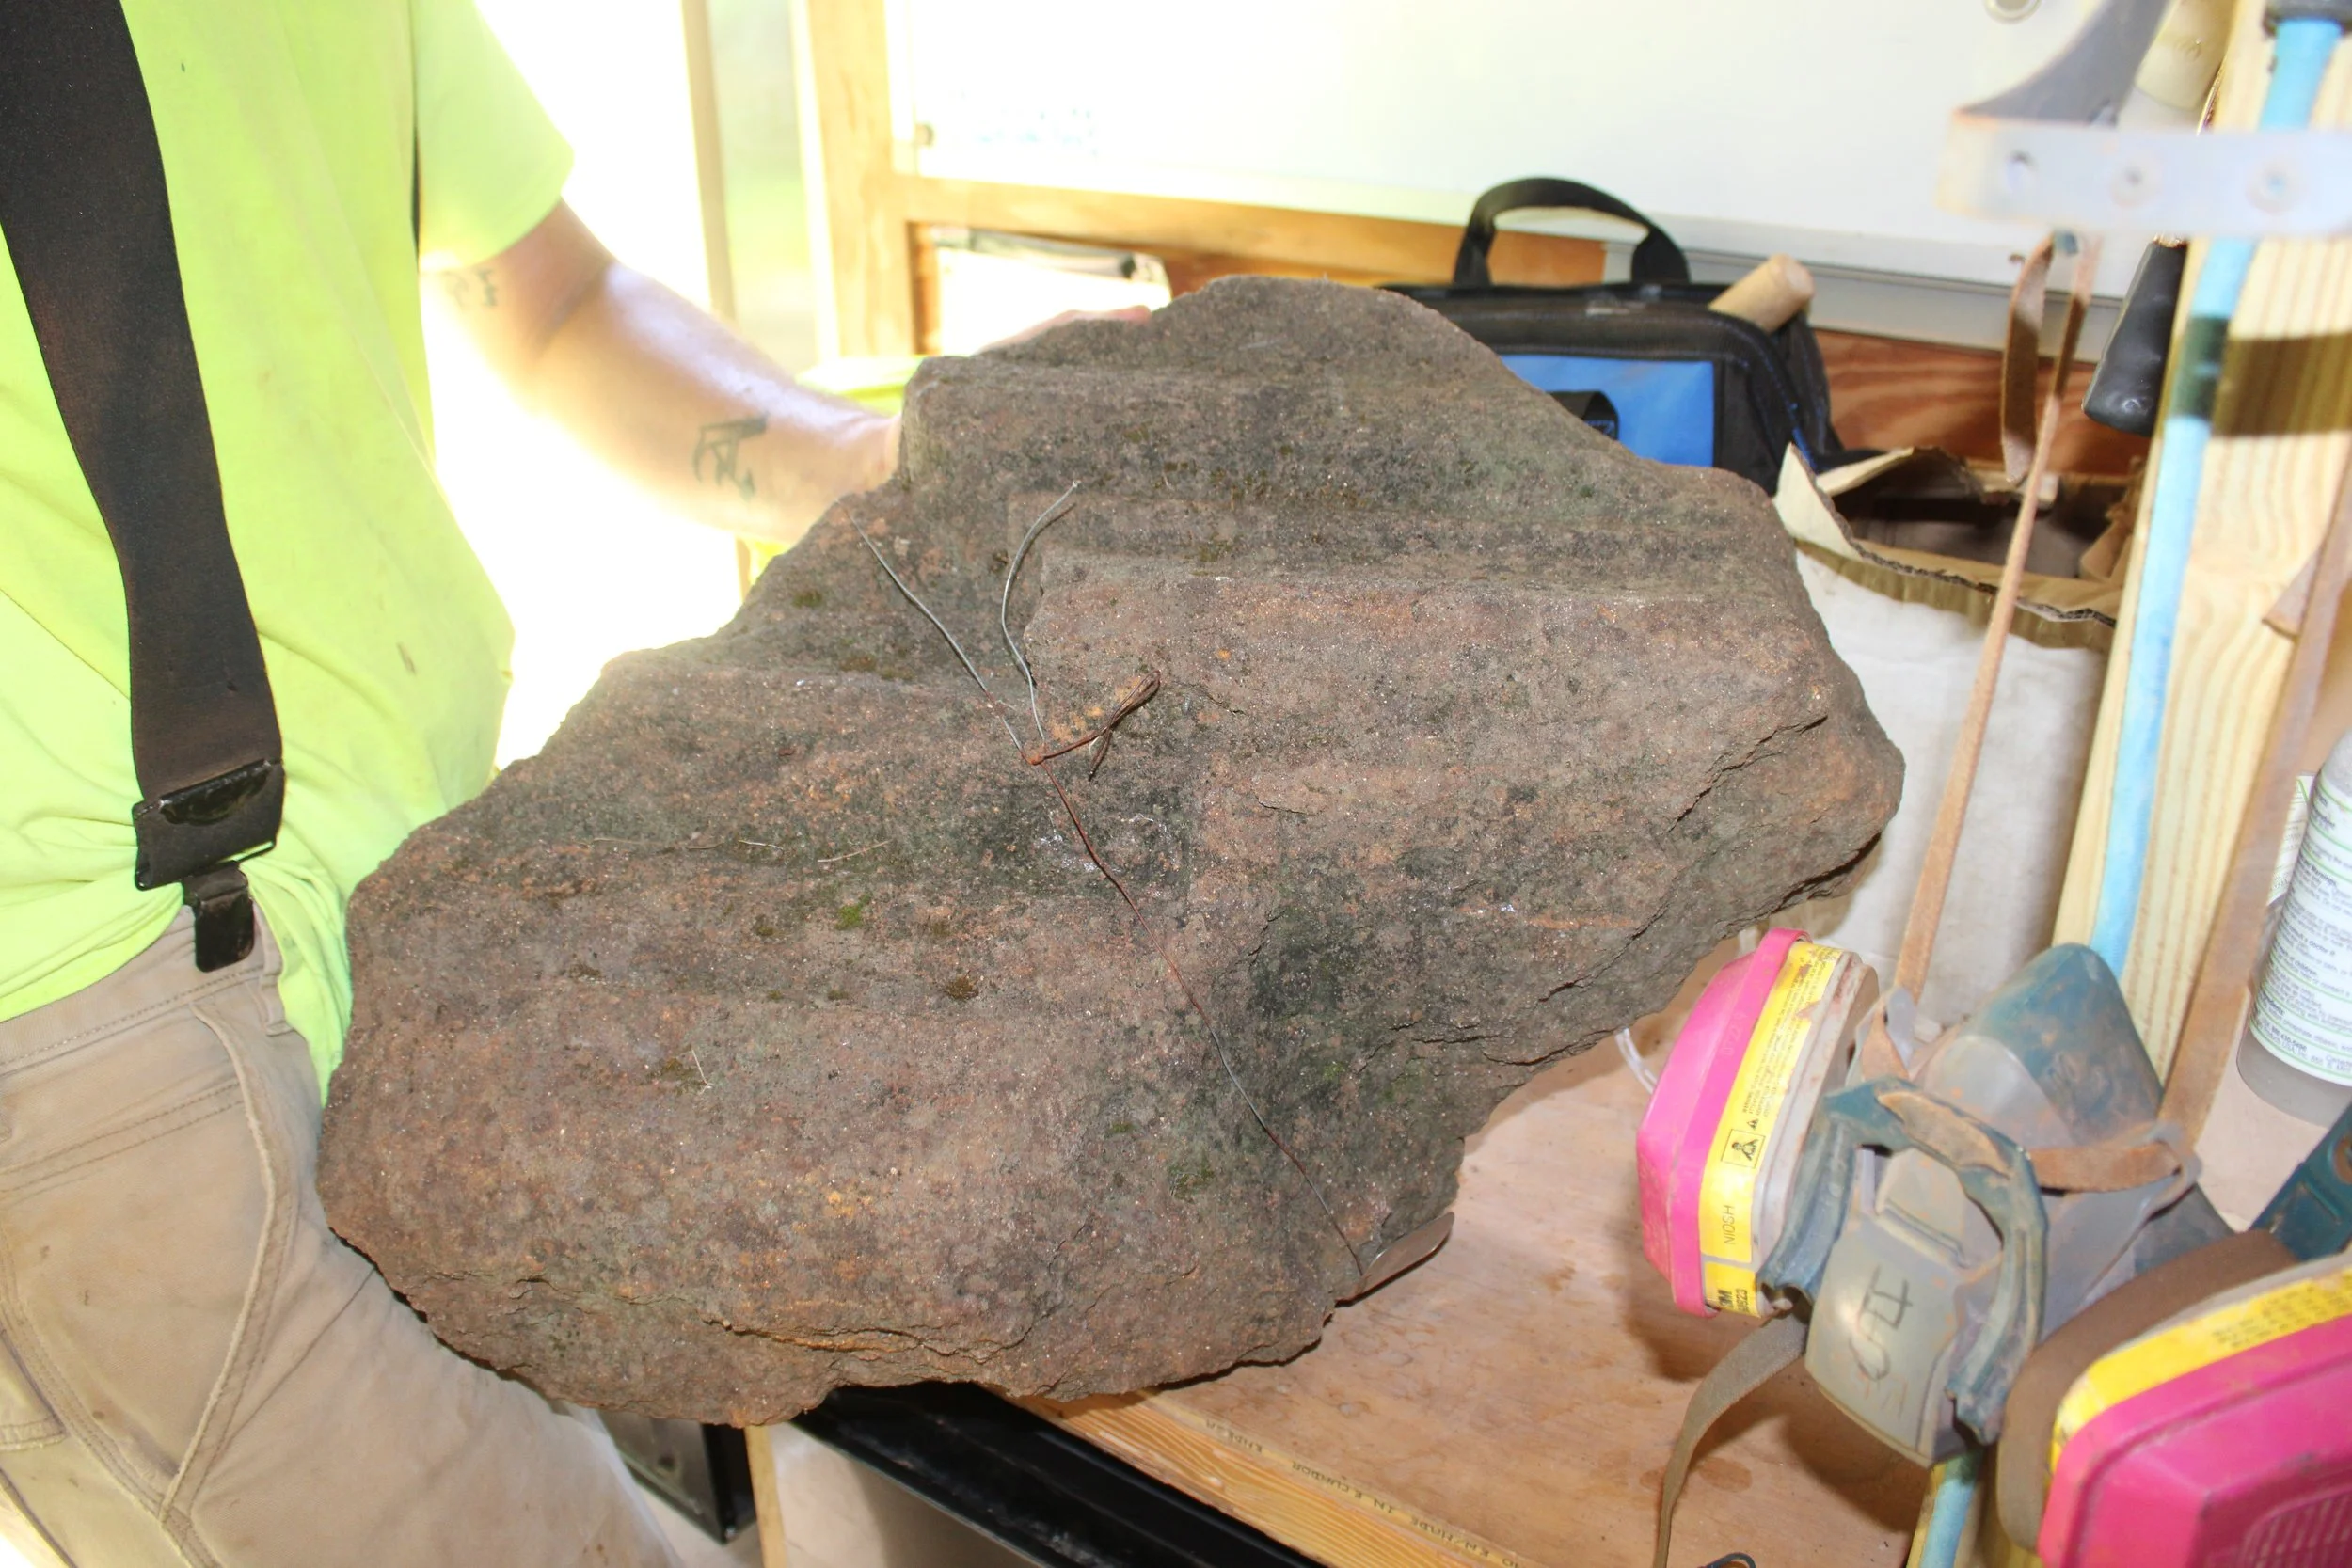
Since the HABS photos were taken, the house deteriorated even further, leading stone masons from the Dominion Traditional Building Group to recreate the decorative stonework of the cornice today. These pieces have been fashioned from stones that are roughly the correct size from both Menokin and the nearby Chestnut Hill property, which possess a very similar sandstone composition.
First Steps
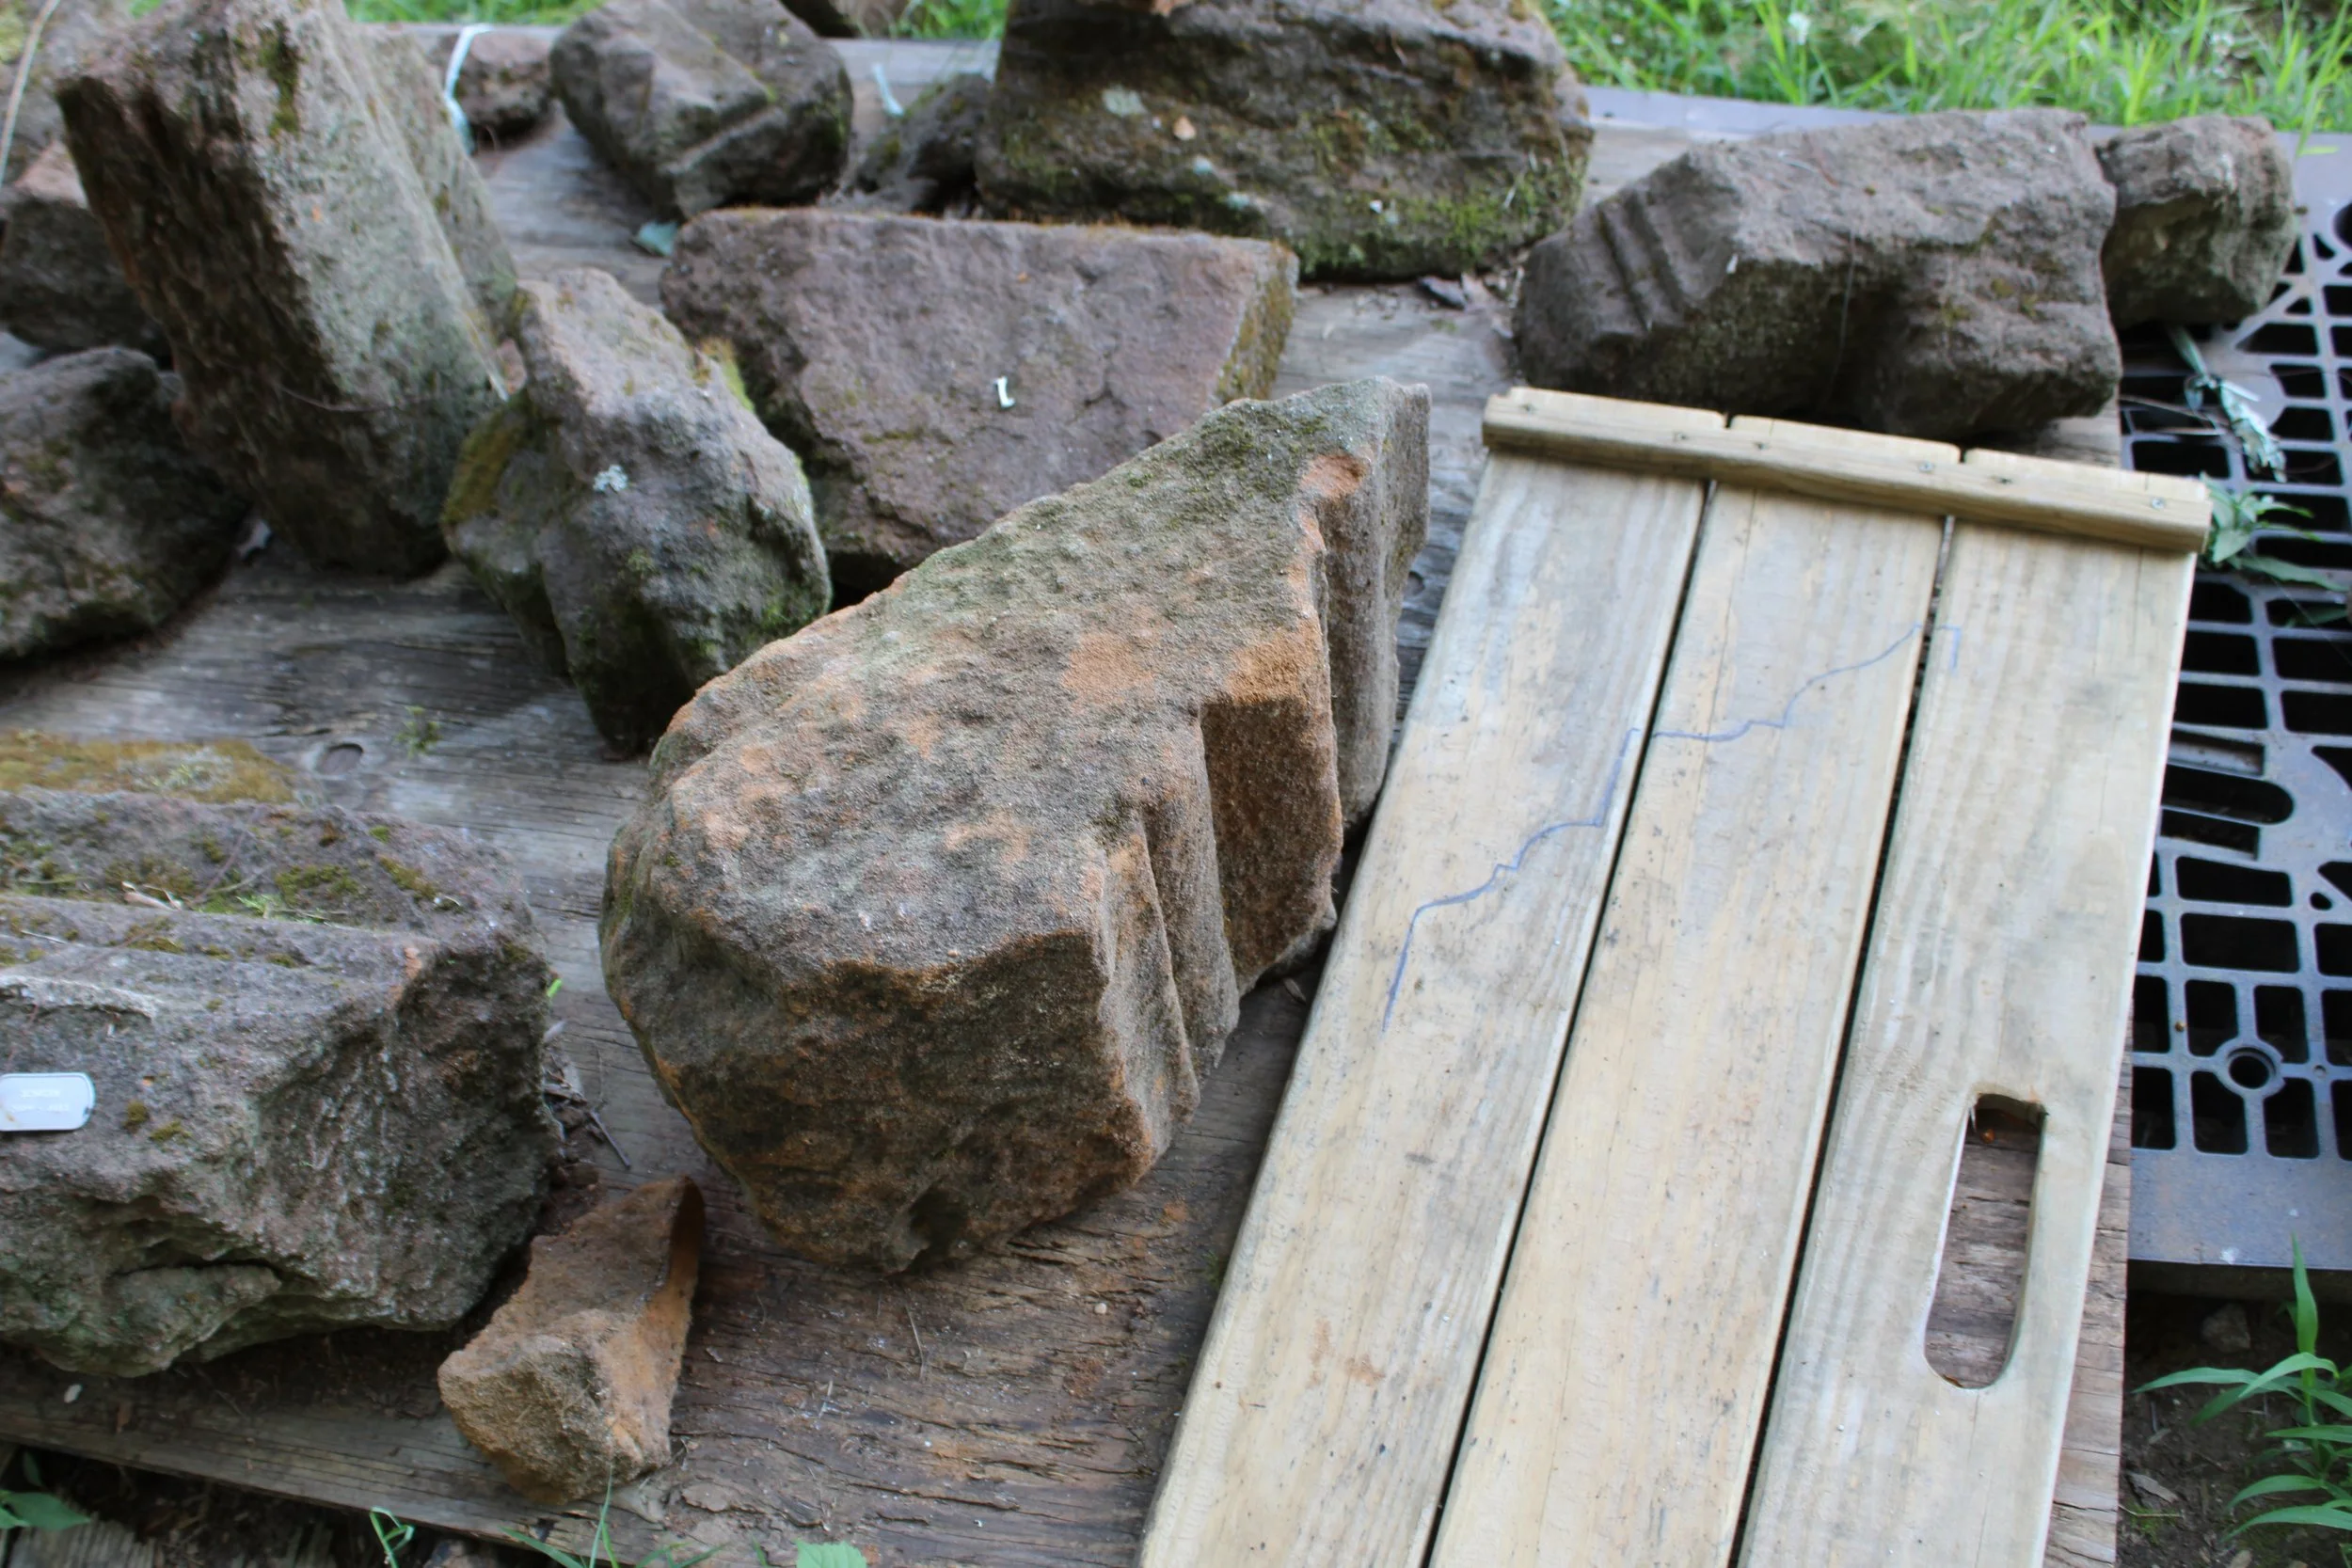
The surviving decorative stonework has been used, when possible, to guide current fabrication. The photo above features a surviving cornice piece, and the tracing of it made by the stone masons.
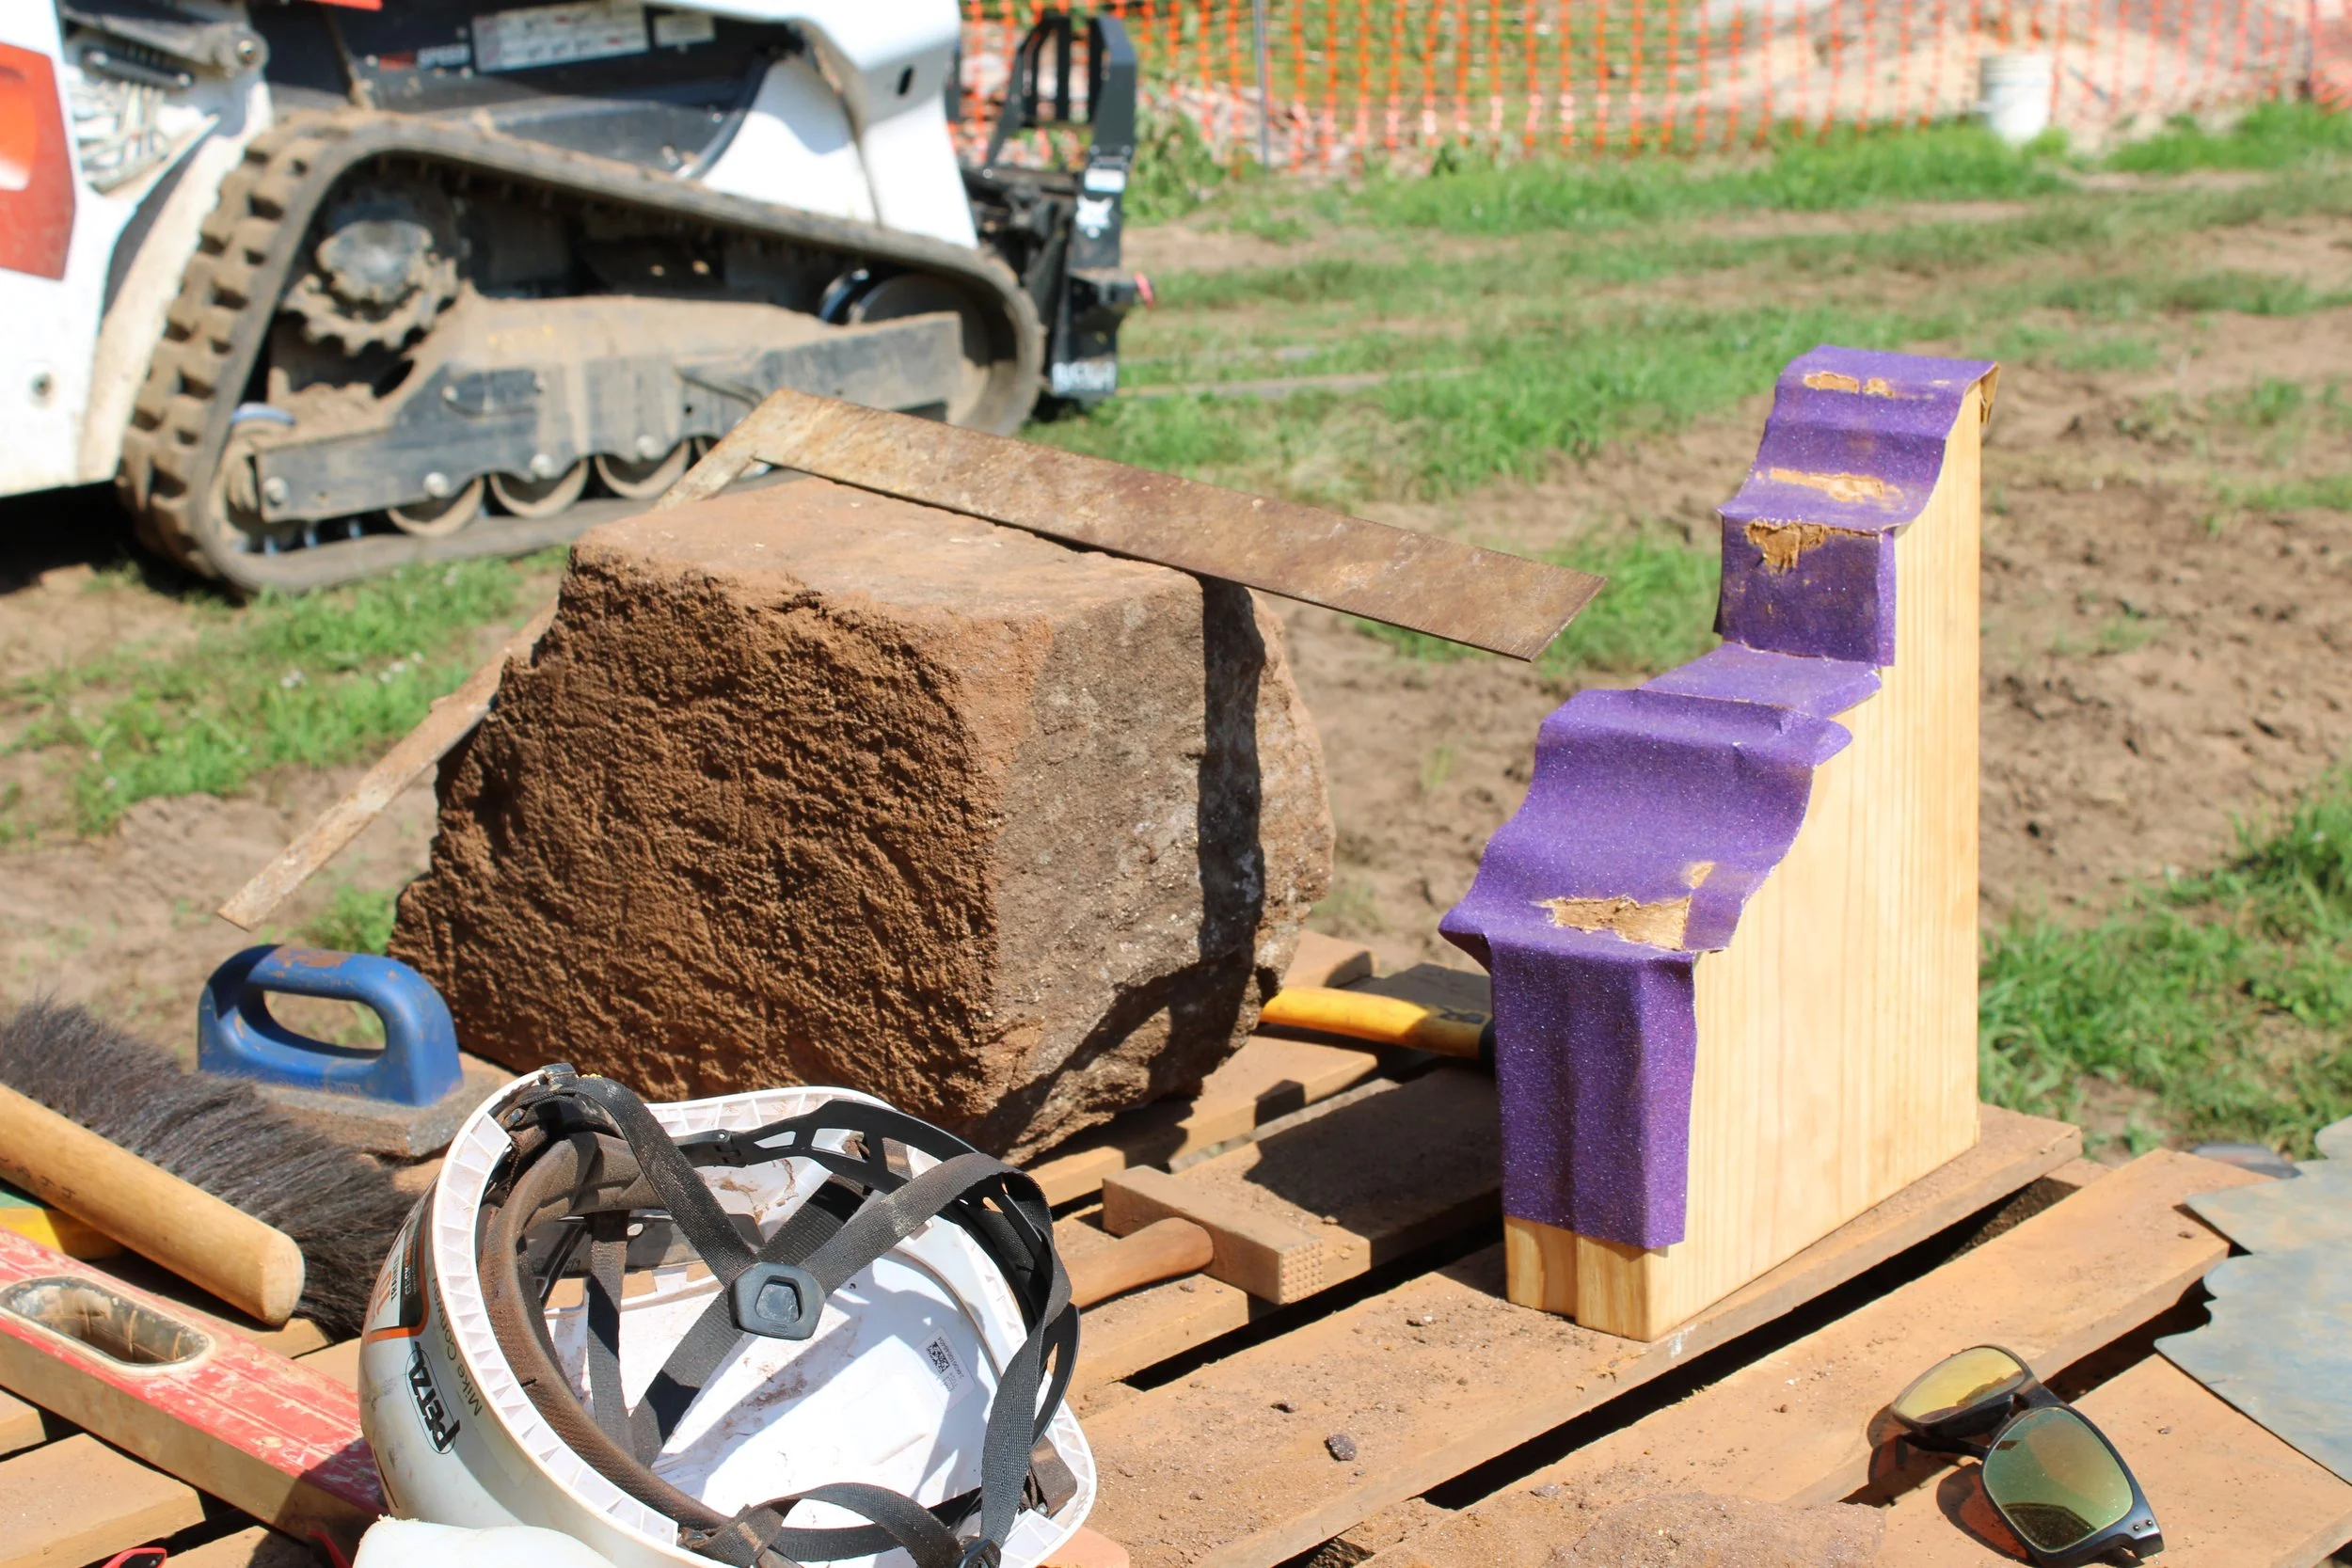
These tracings are used to fabricate a metal template, which matches the outline of the original stone and helps the masons draw guidelines on the stone. This template can then be used to fabricate a jig, which is used to make sure that cuts and refinements are properly aligned, especially once original guidelines have been worn or chipped away.
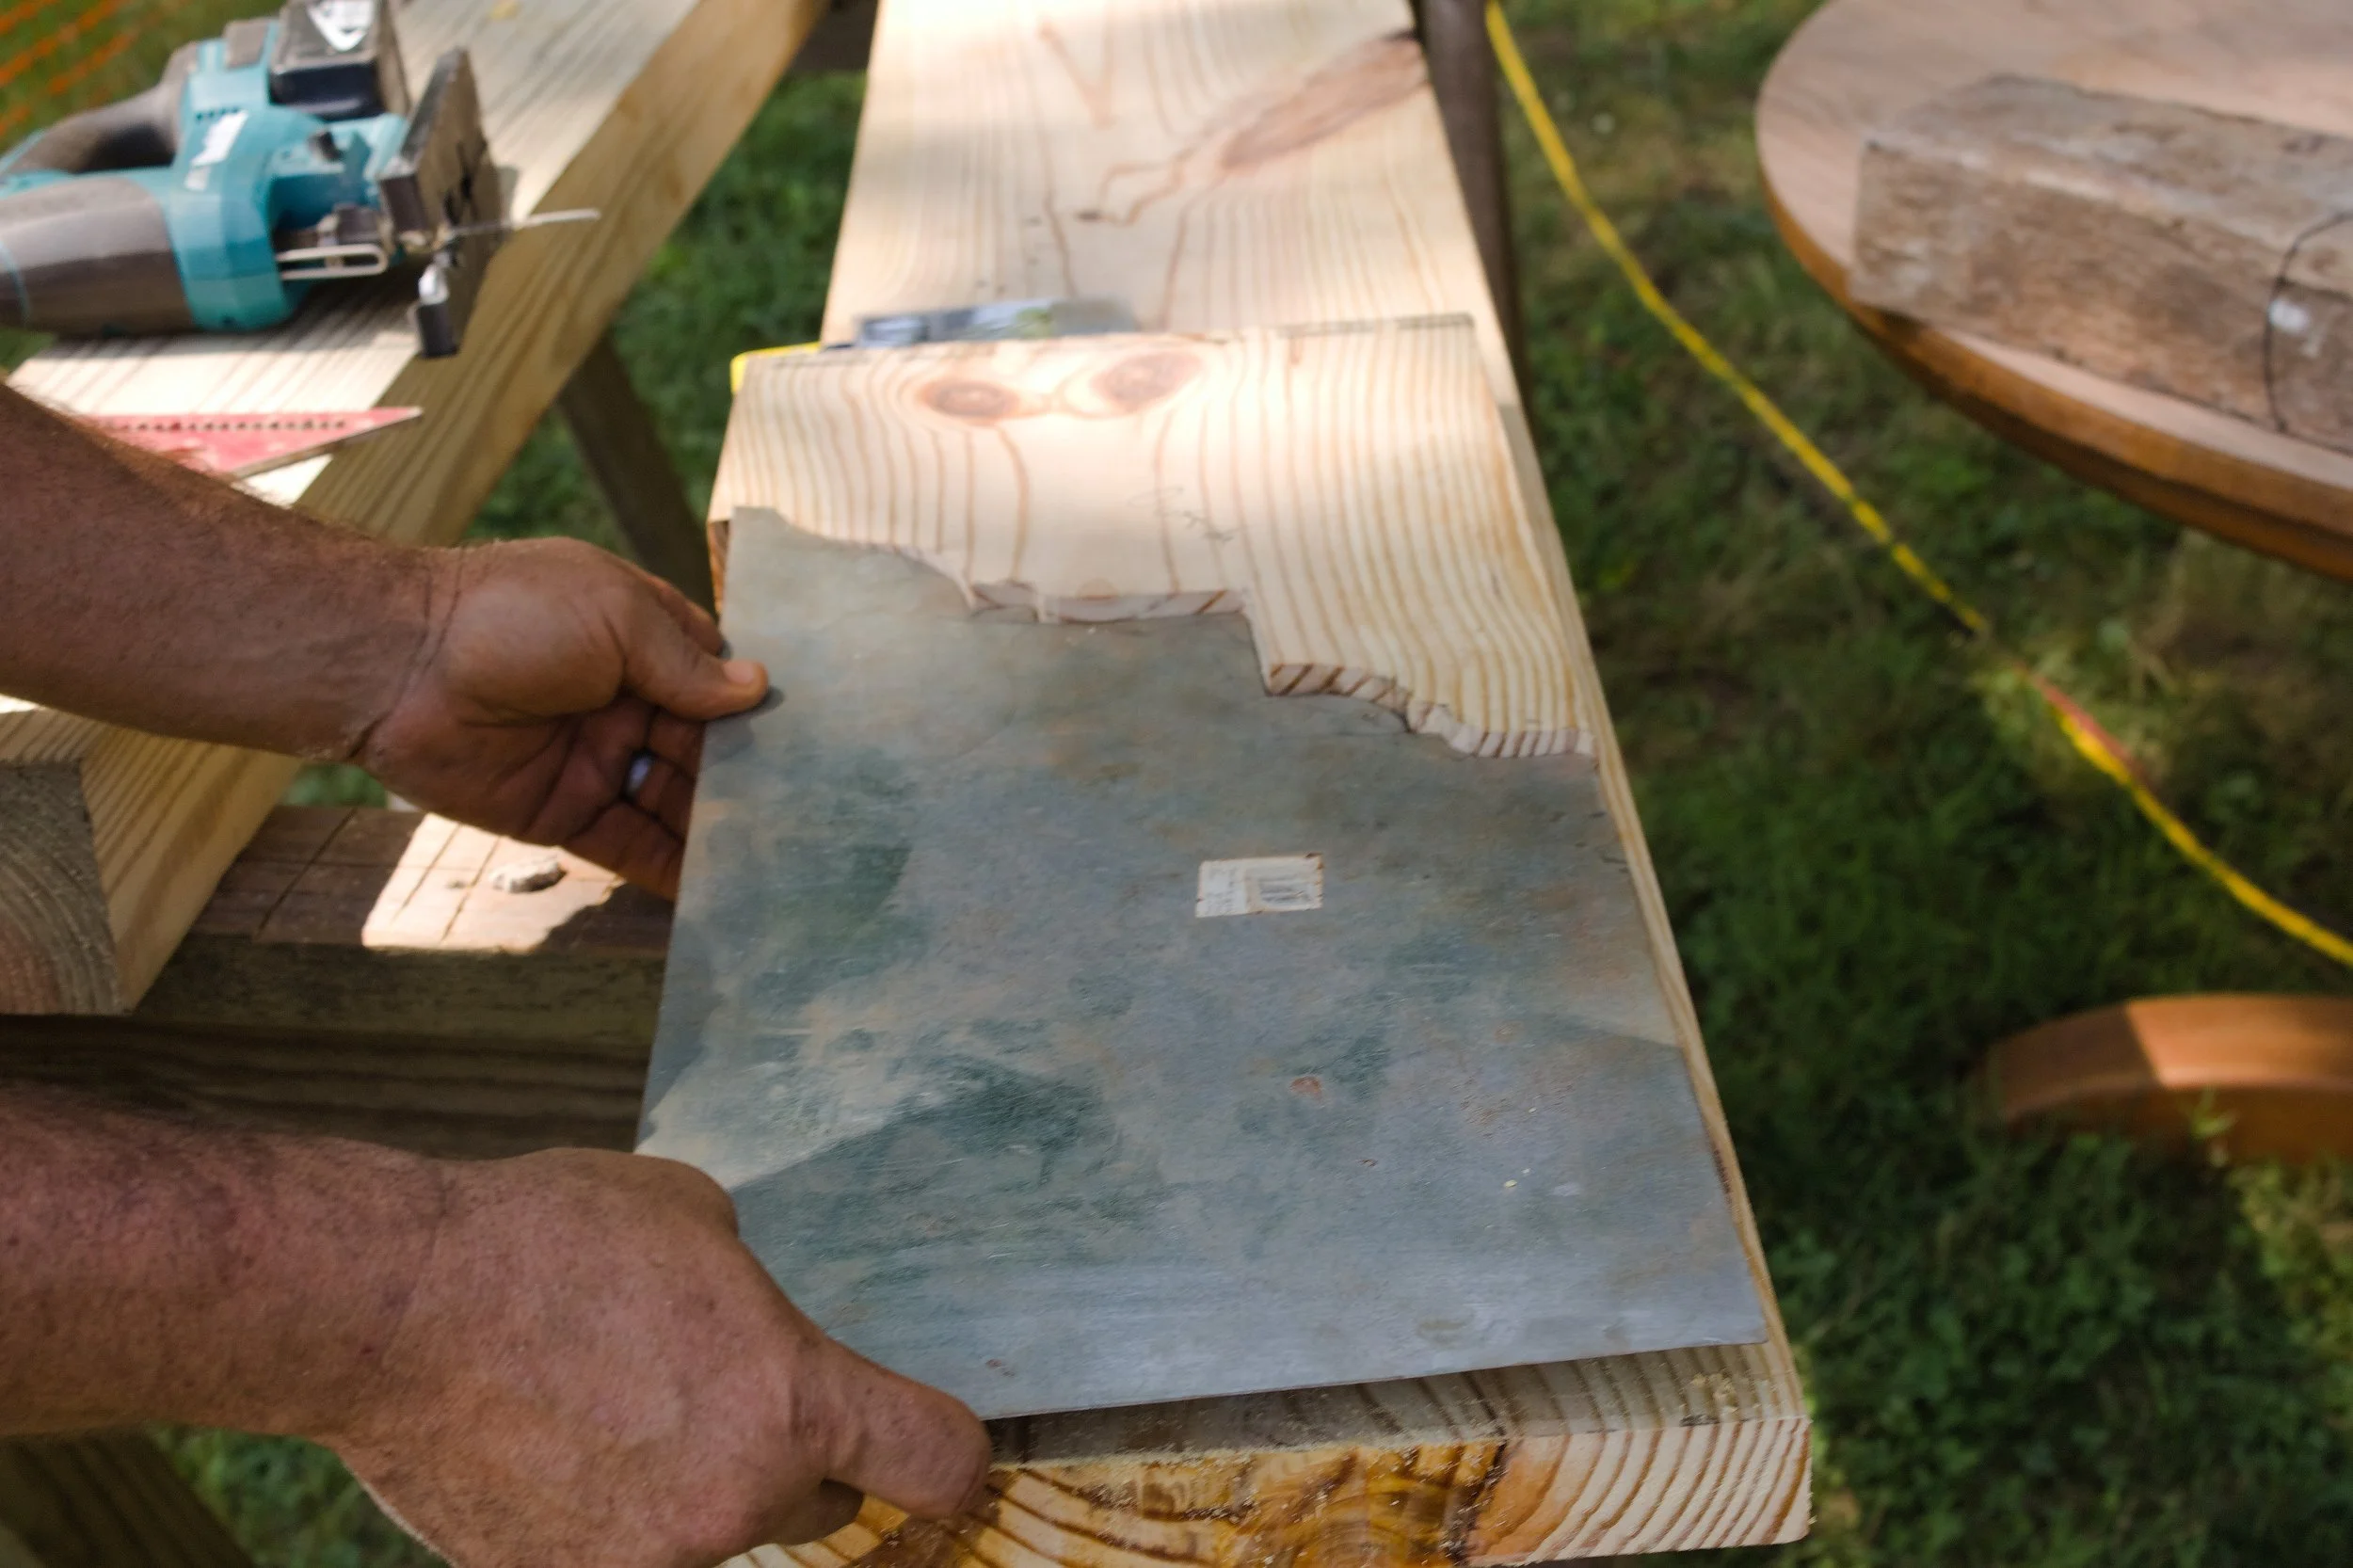
In the image above, the template is the metal piece, which has been used to create the corresponding jig. It is helpful to think of the wooden jig as being a recreation of the original stonework’s silhouette, and the template being what would be left by an impression taken of the stone. The jig is often used for “fine tuning,” not initial marking.
Getting Dressed
The standard center cornice trim stone and the projected (more decorative) endpieces, are both crafted beginning in a similar manner.
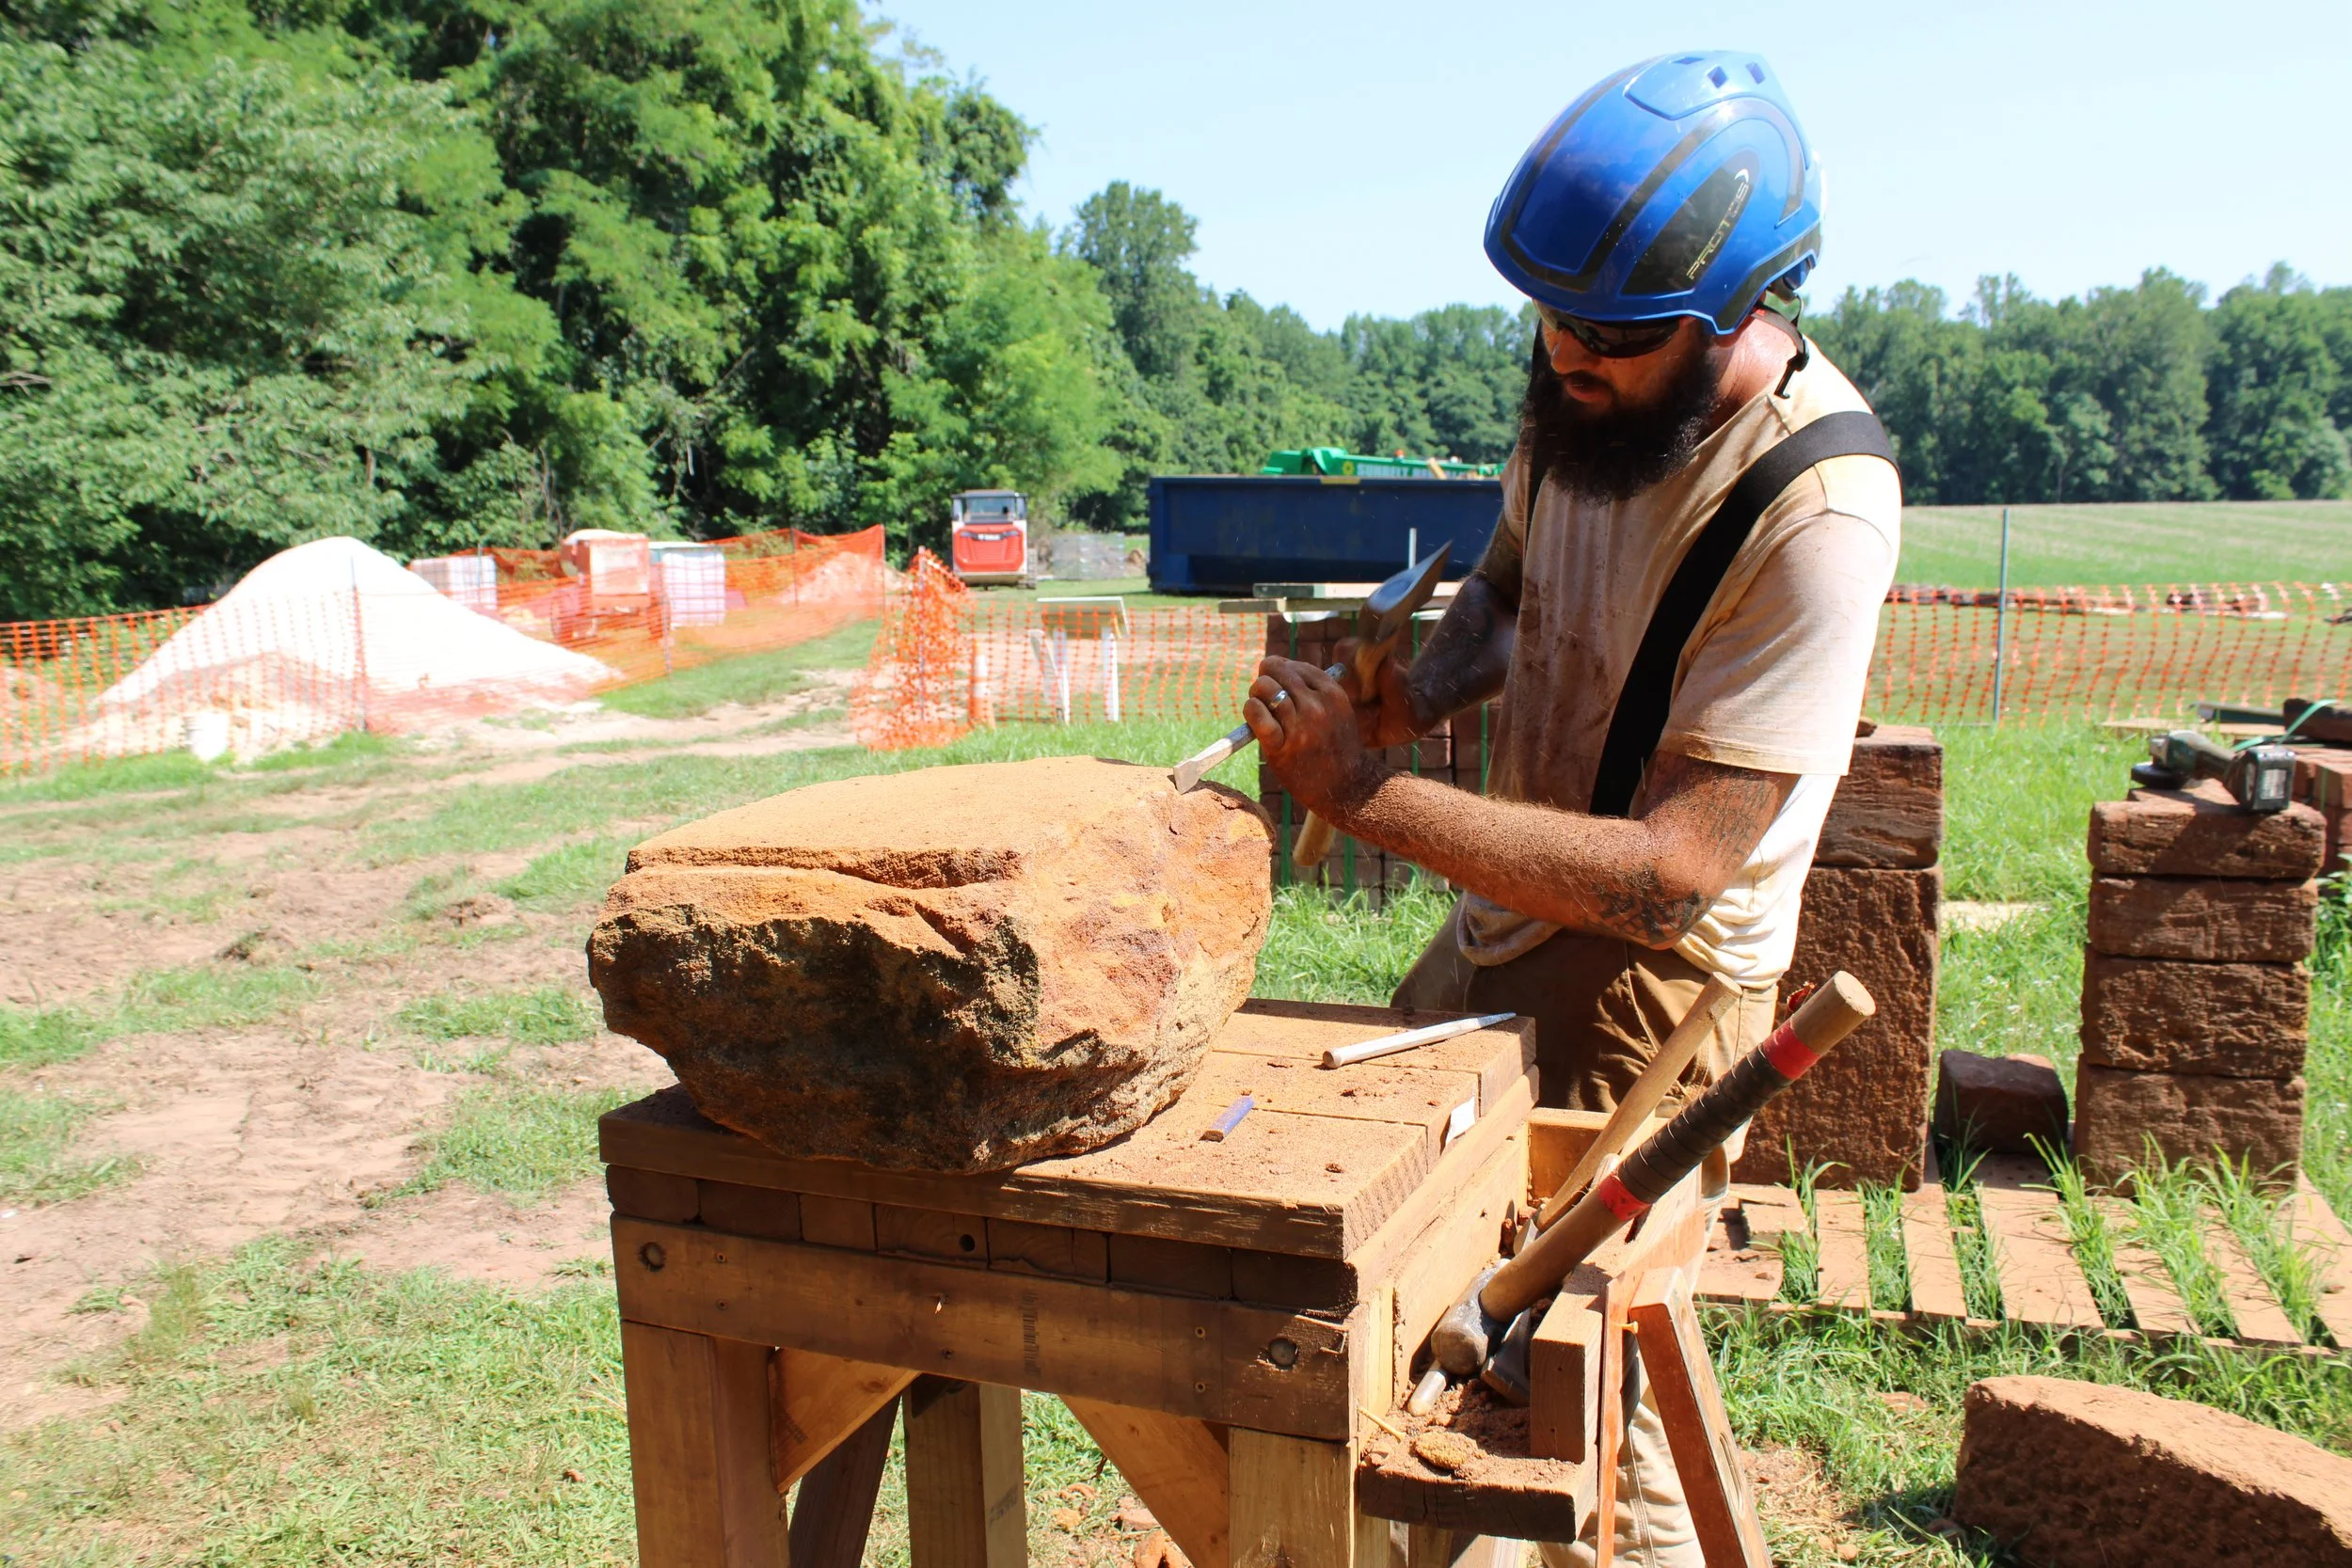
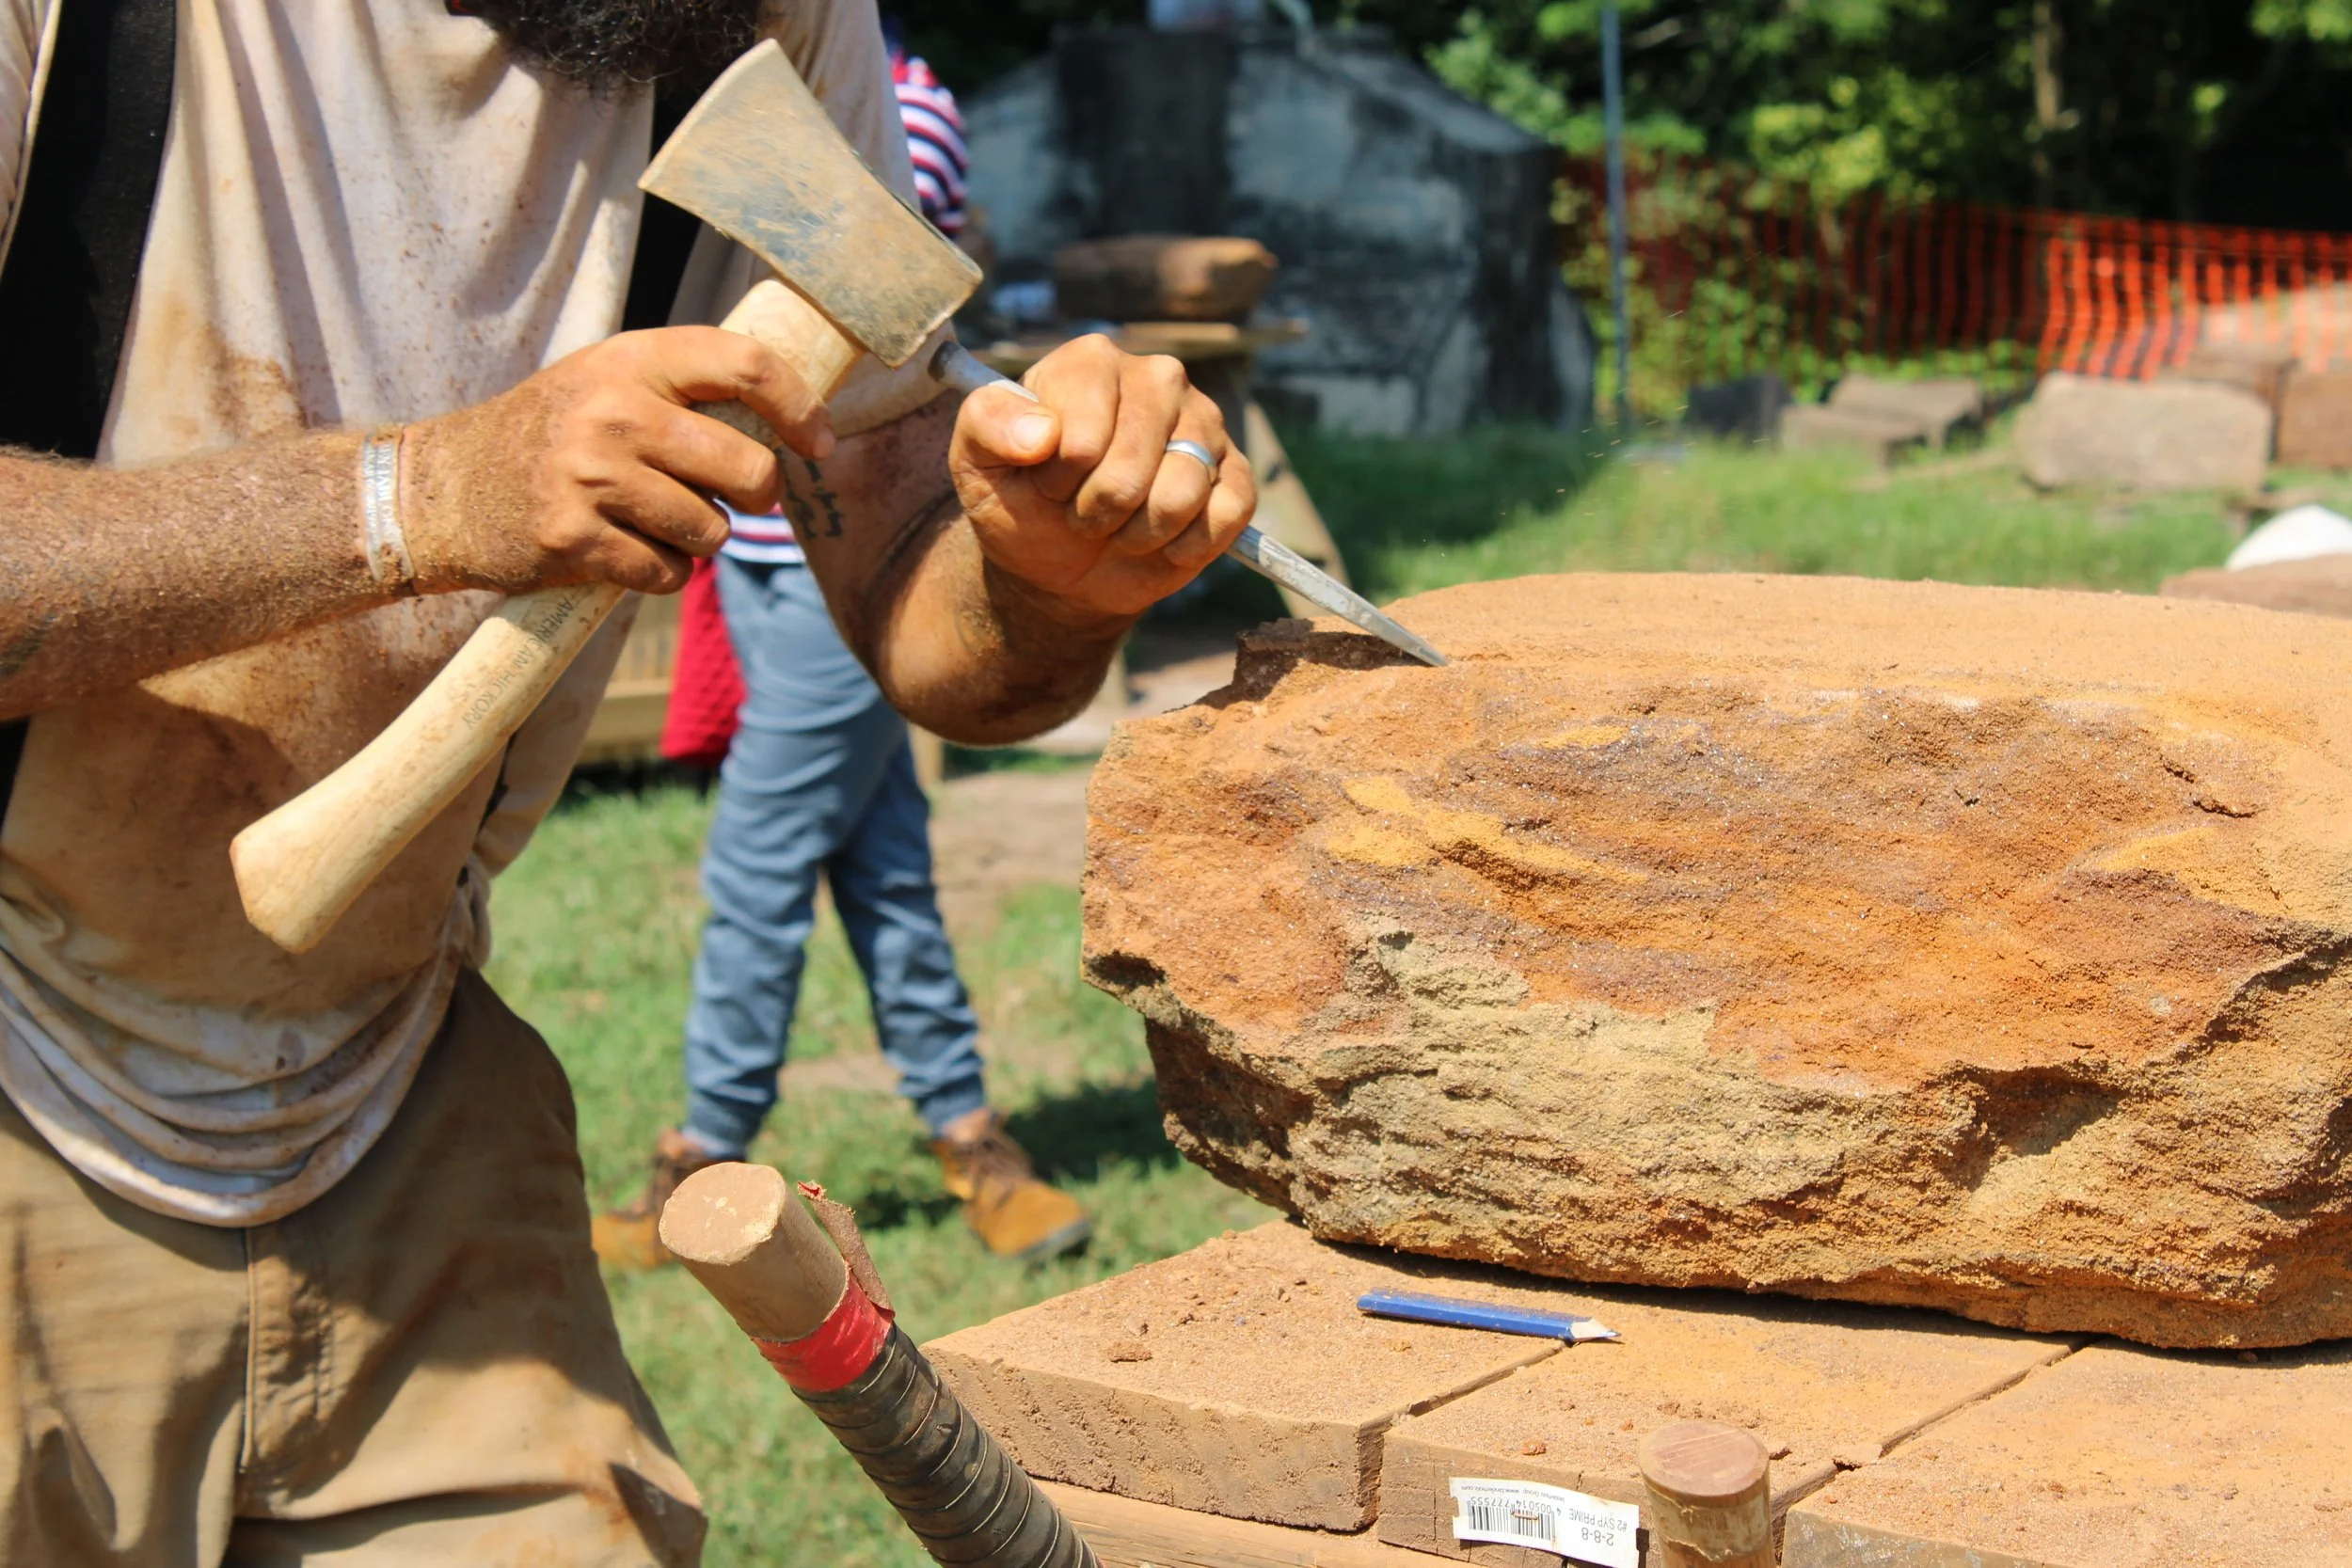
First, a stone is selected, and is “dressed” into a mostly level stone of proper proportions. To do this, the stone is “squared up” by hand chiseling an even flat side and chiseling guidelines for the areas that will be kept. Then a circular saw is used to cut away the excess from the chiseled markings. This process is completed on other sides of the stone if necessary. In the images below, Hunter Shackelford prepares a stone to be cut to size by making indentations with a chisel, after having created a flat side on the top.
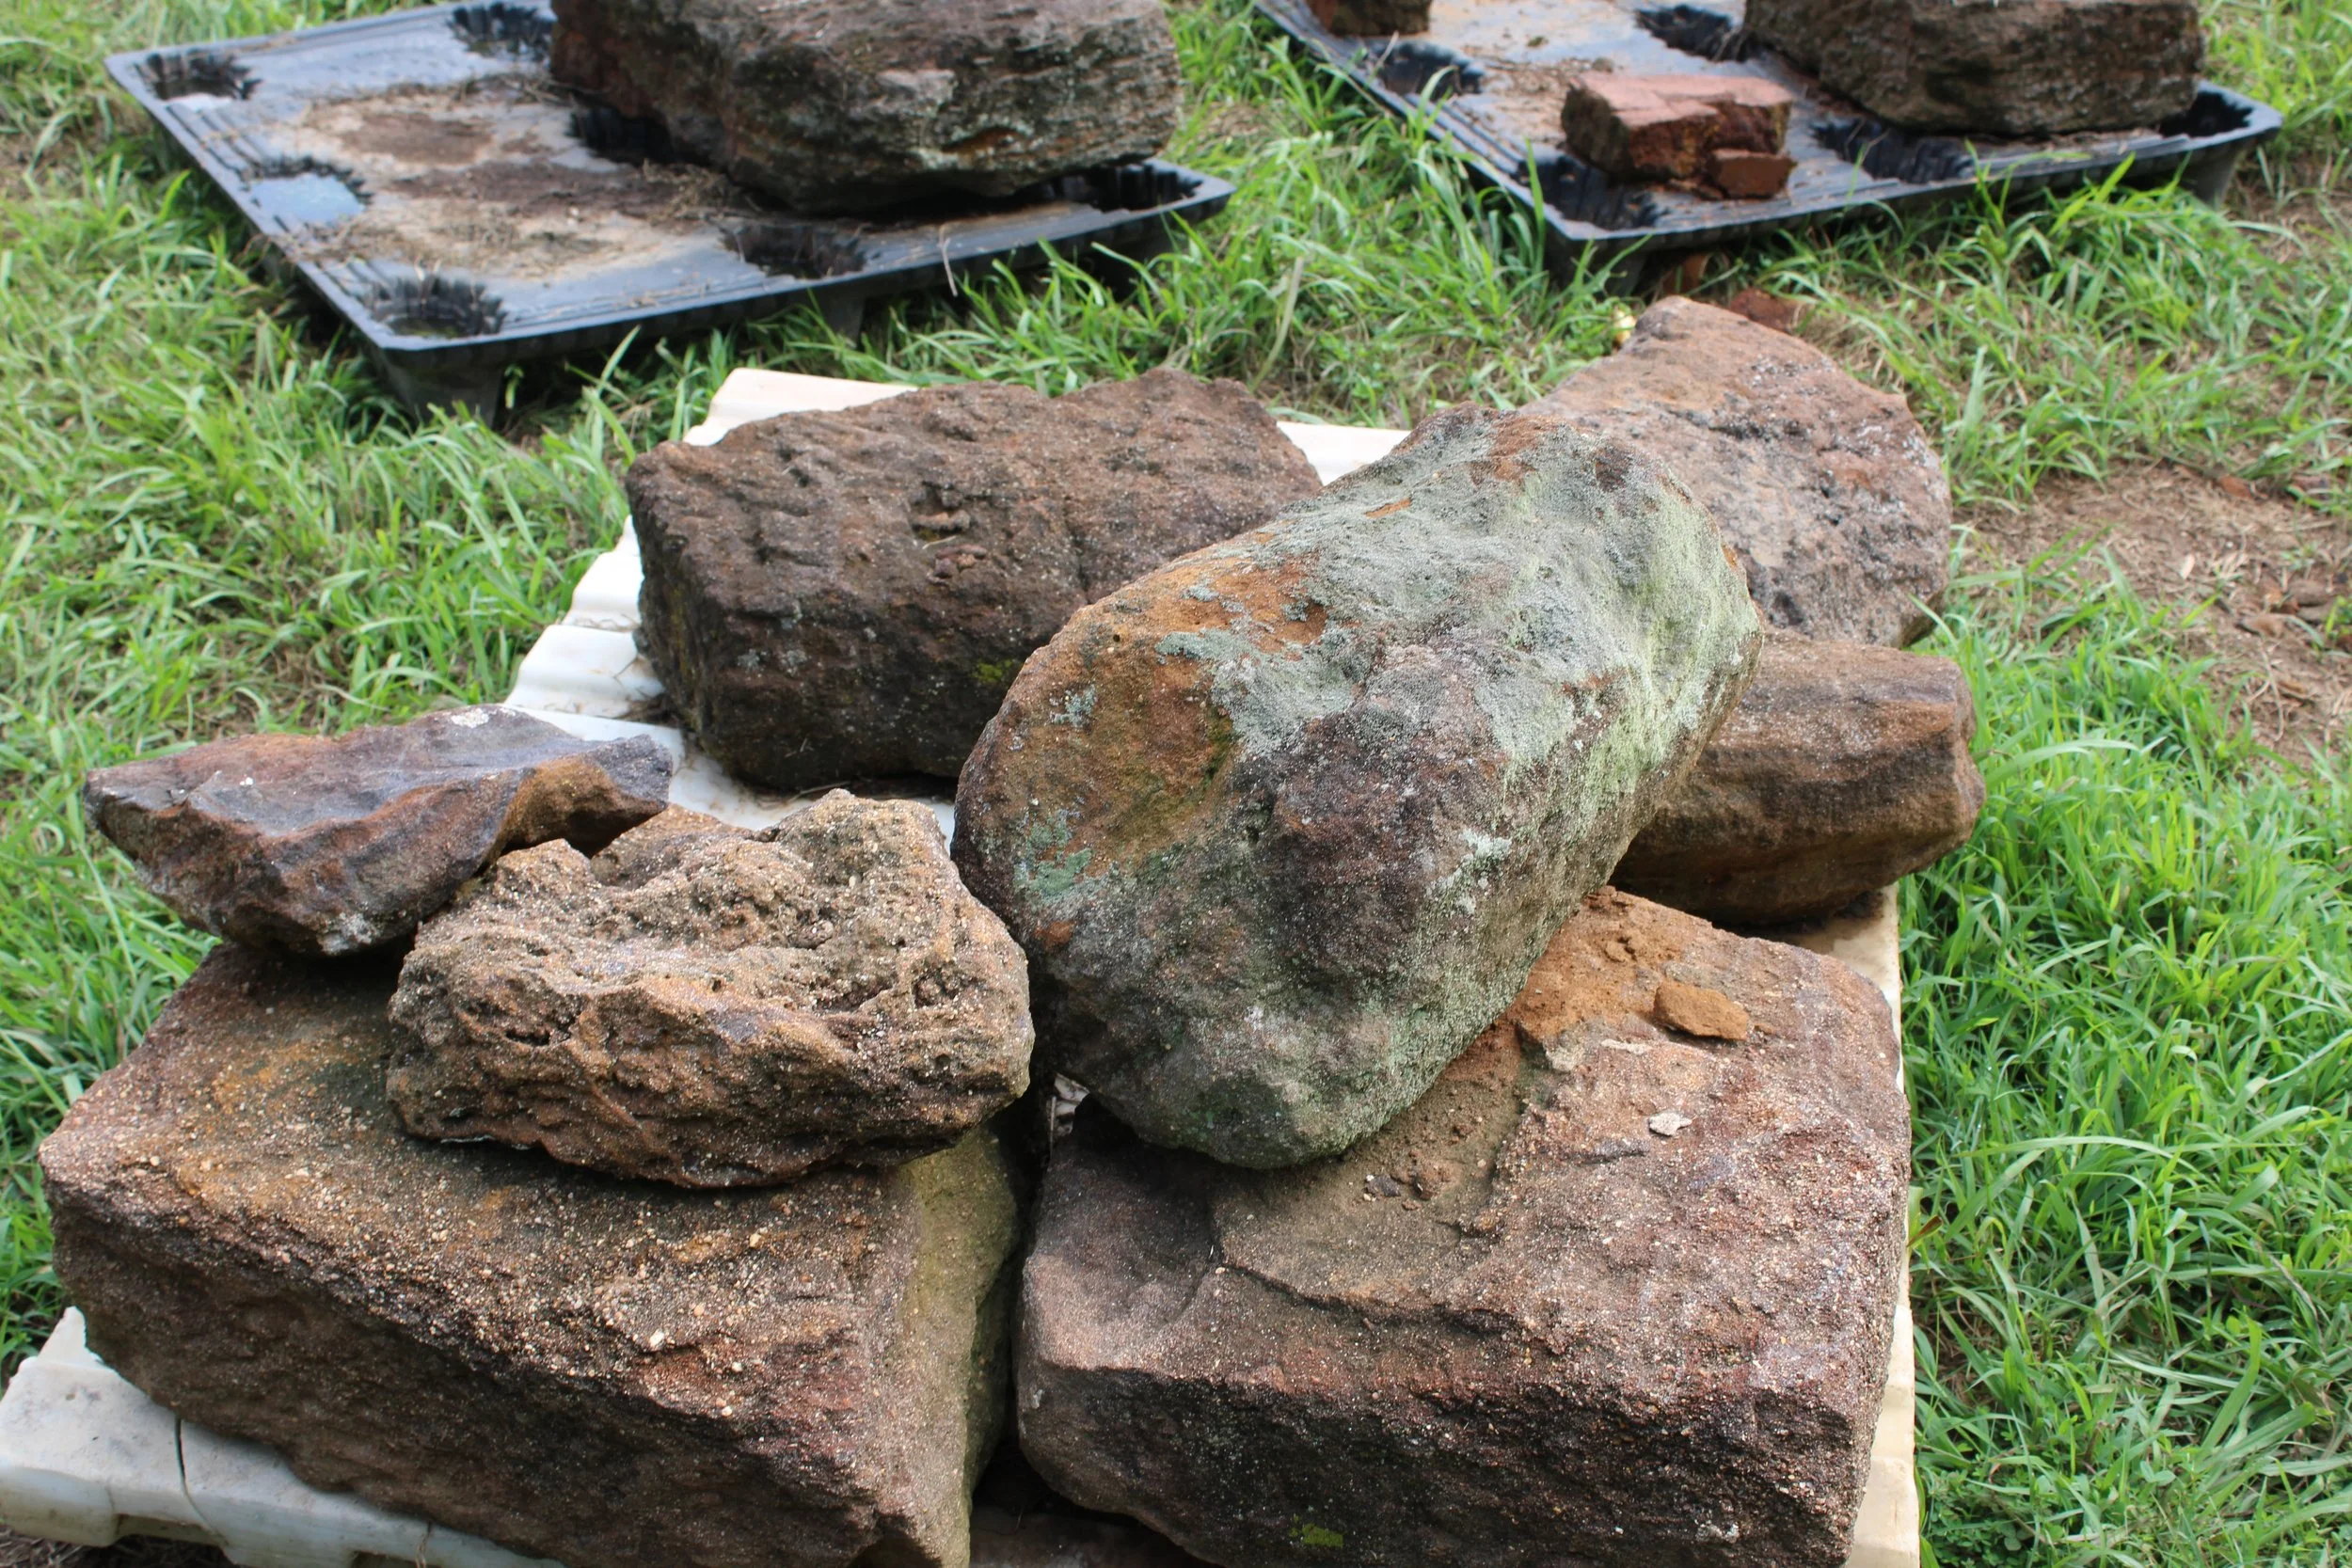
Selection of previously used workable stone.
Secondly, an outline is traced onto the stone using the metal template mentioned earlier, the result is shown in the image below.
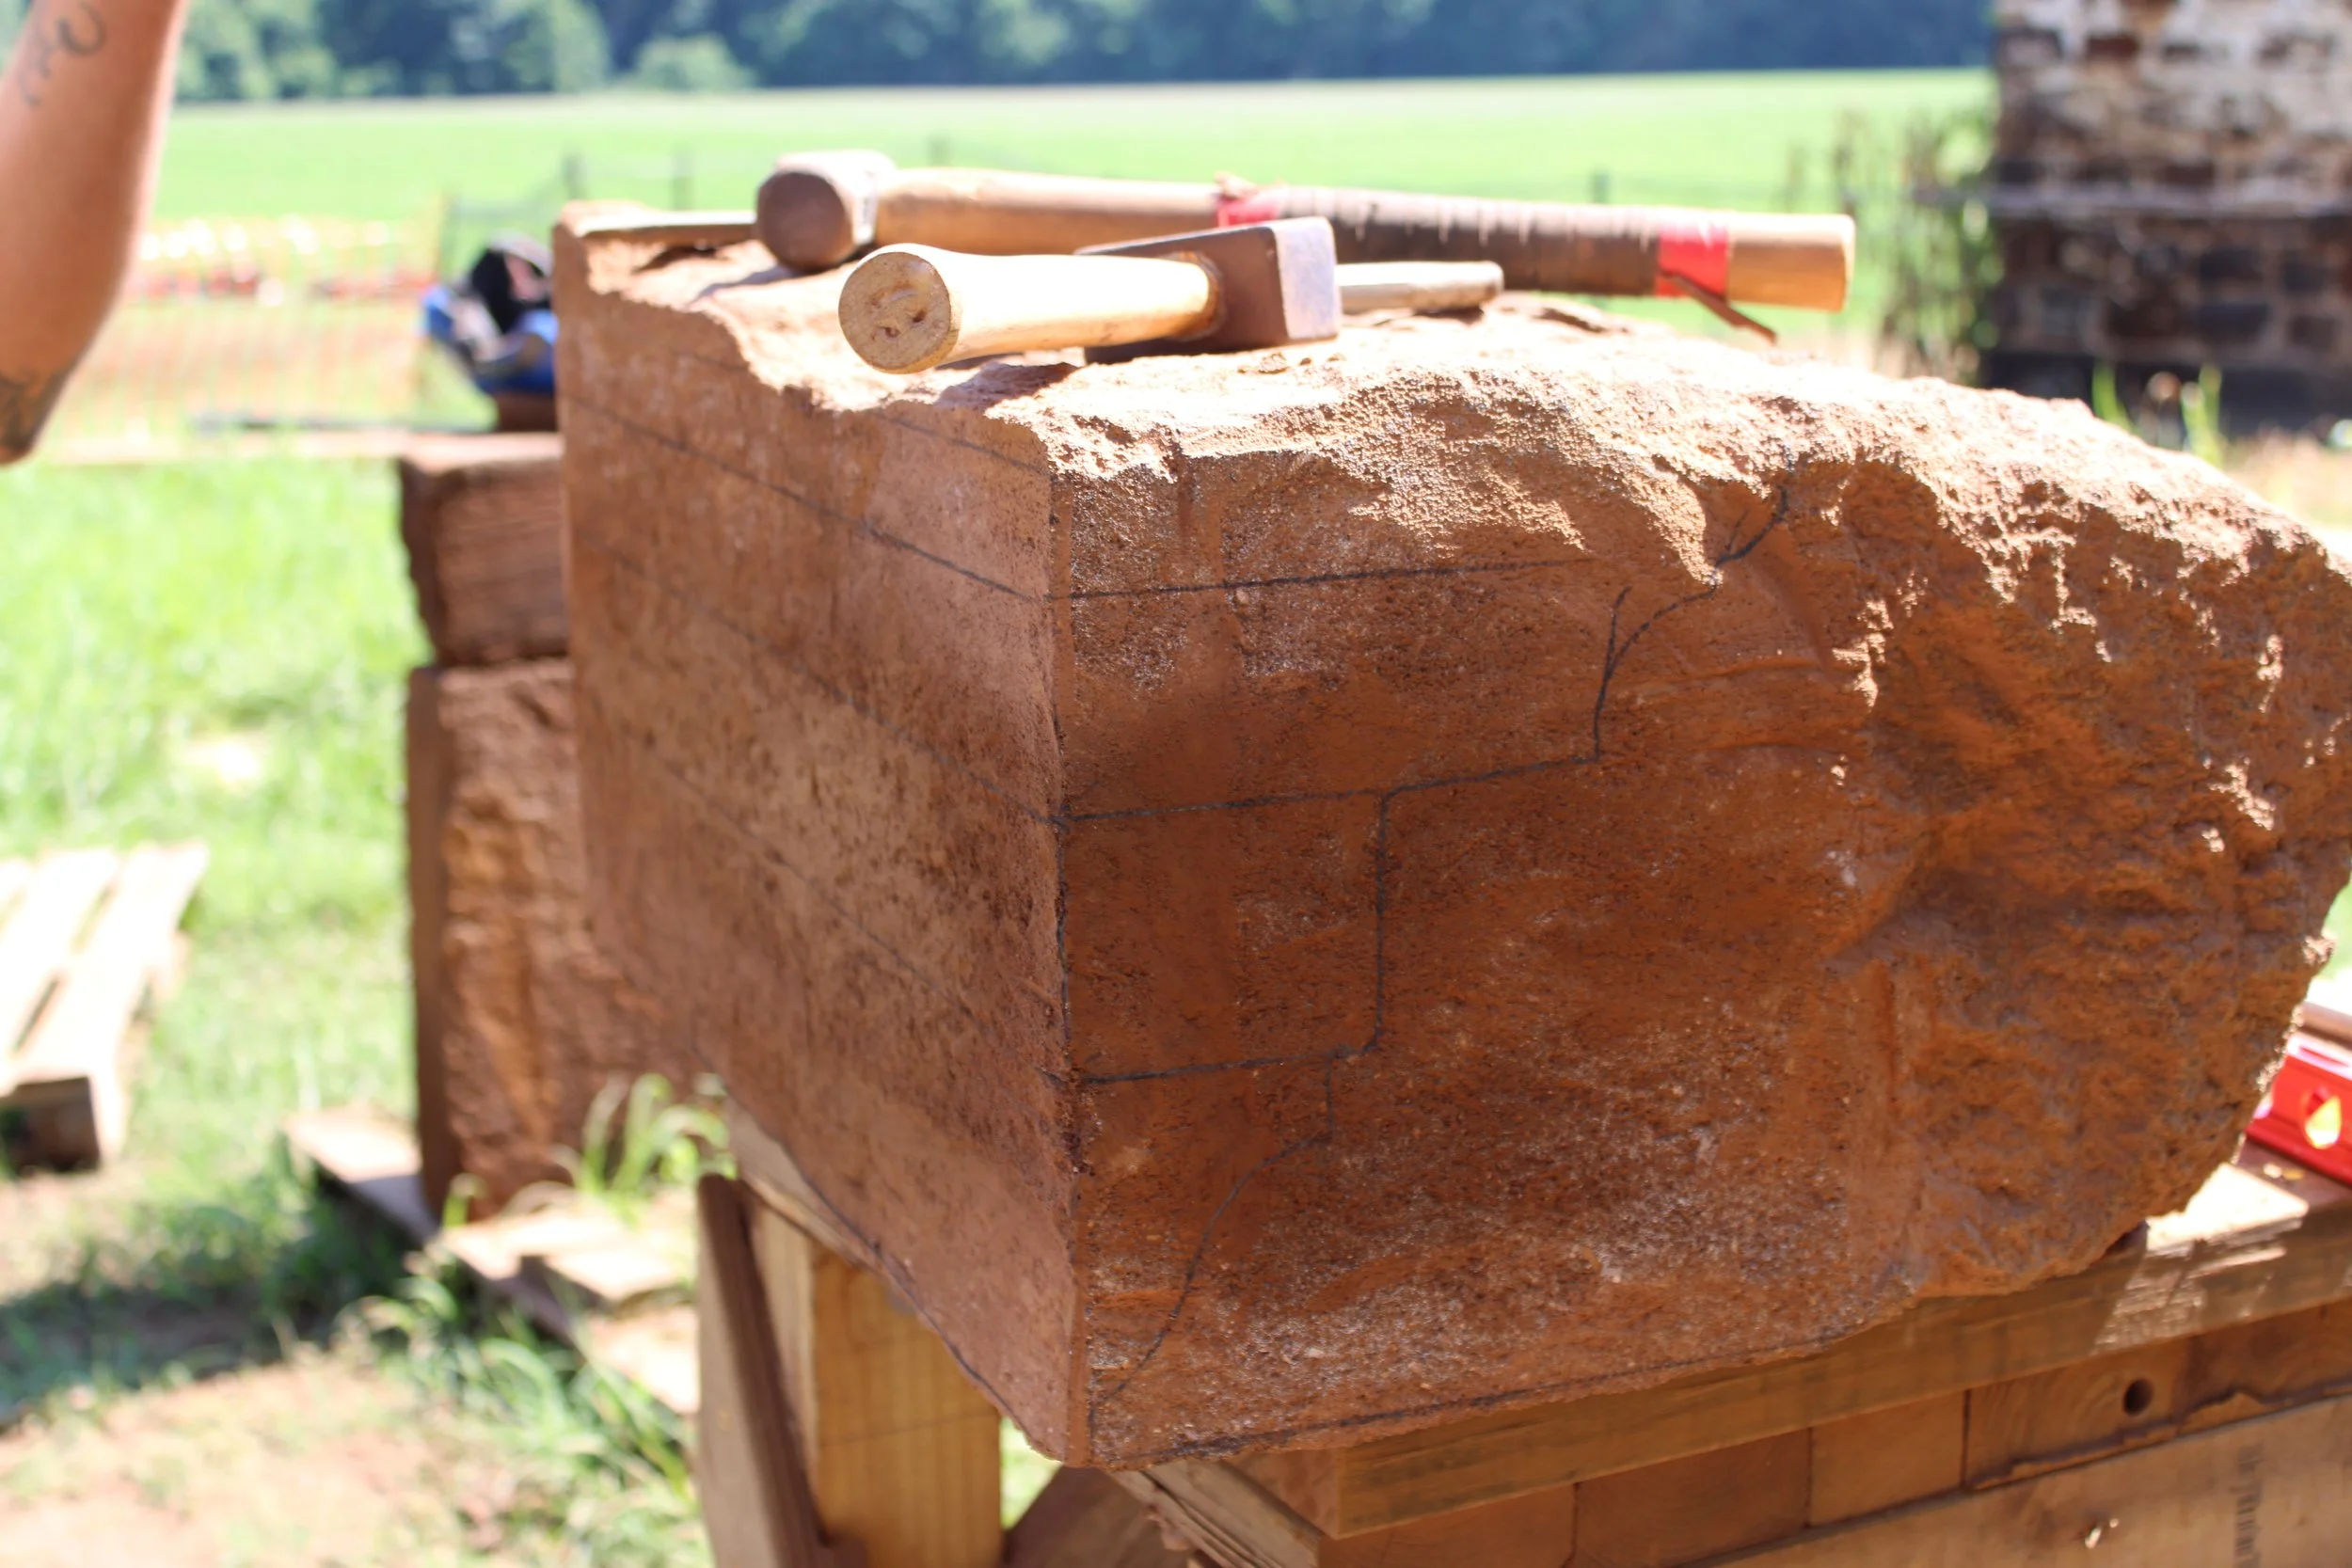
It is worth noting that in the image above, the markings have been made upside down, with what will be the bottom end of the stone (when placed) facing upwards. It will remain this way throughout the process of fabrication, as it is preferred to cut and shape decorative stonework from the side of “least mass” working downward toward the flared end.
With the markings in place, the largest cuts to the stone are made with a circular saw, a tool that would not have been available to the stone masons who built Menokin, but helps to expedite the process of preliminary mass reduction.
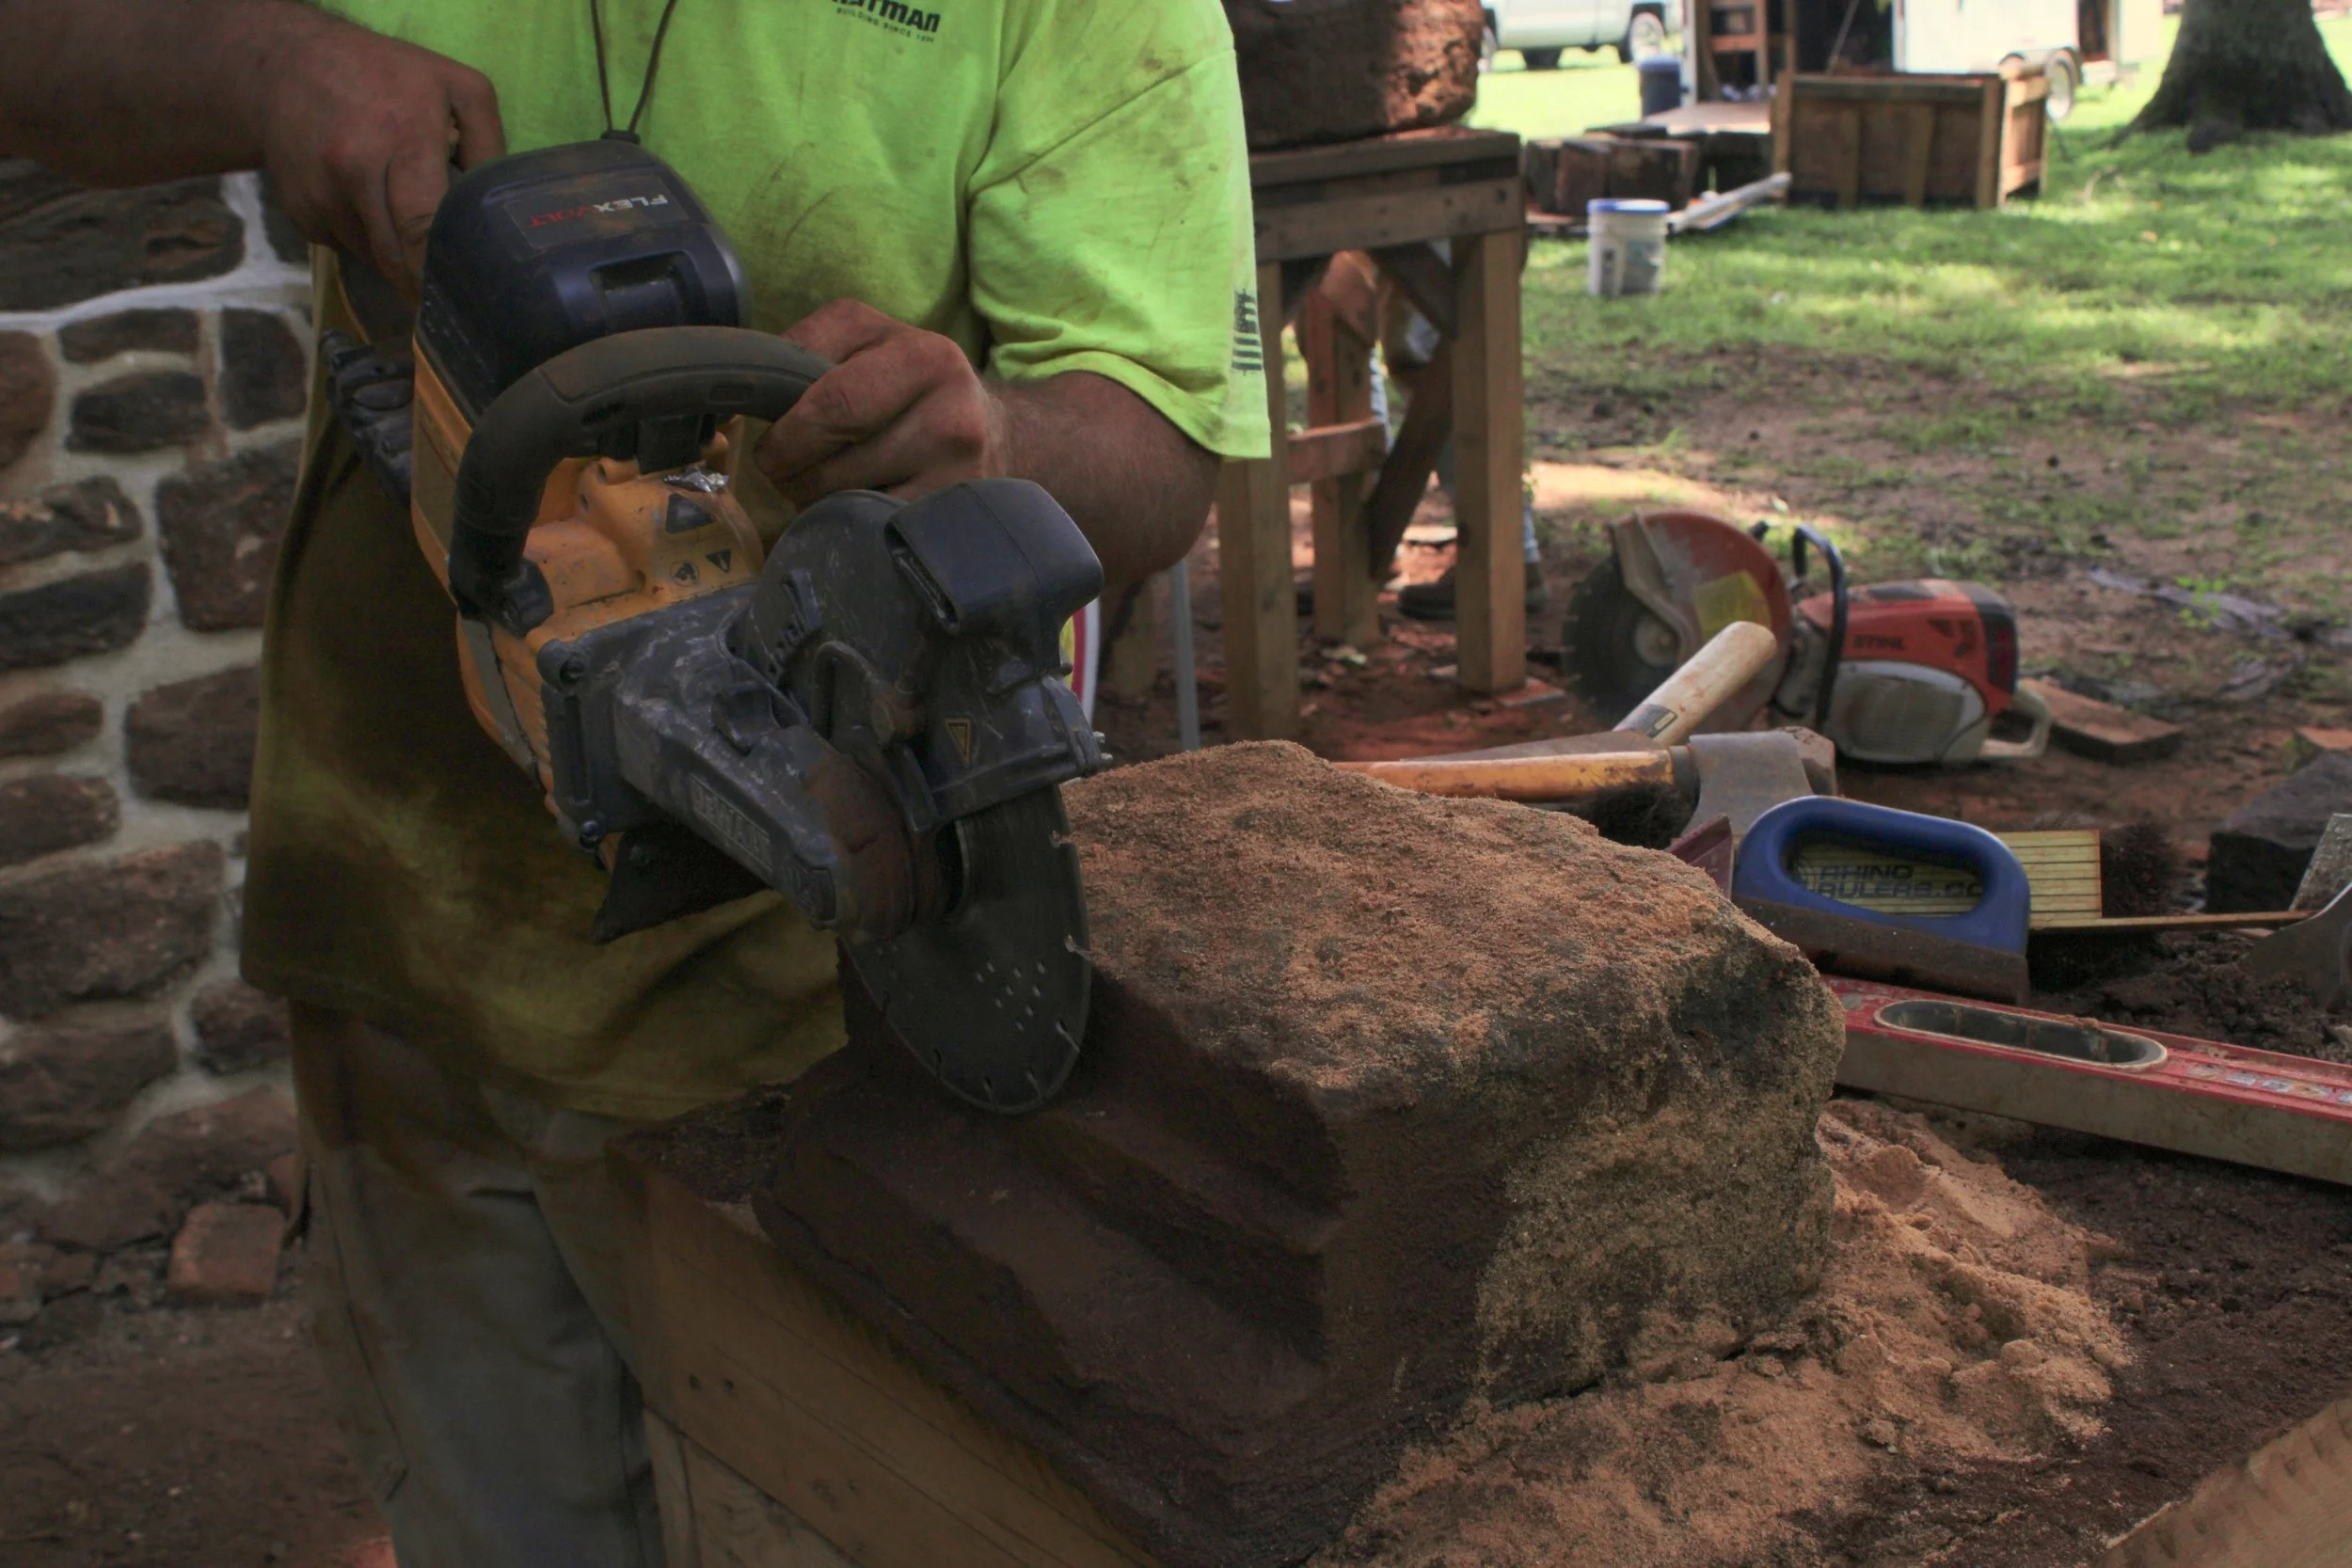
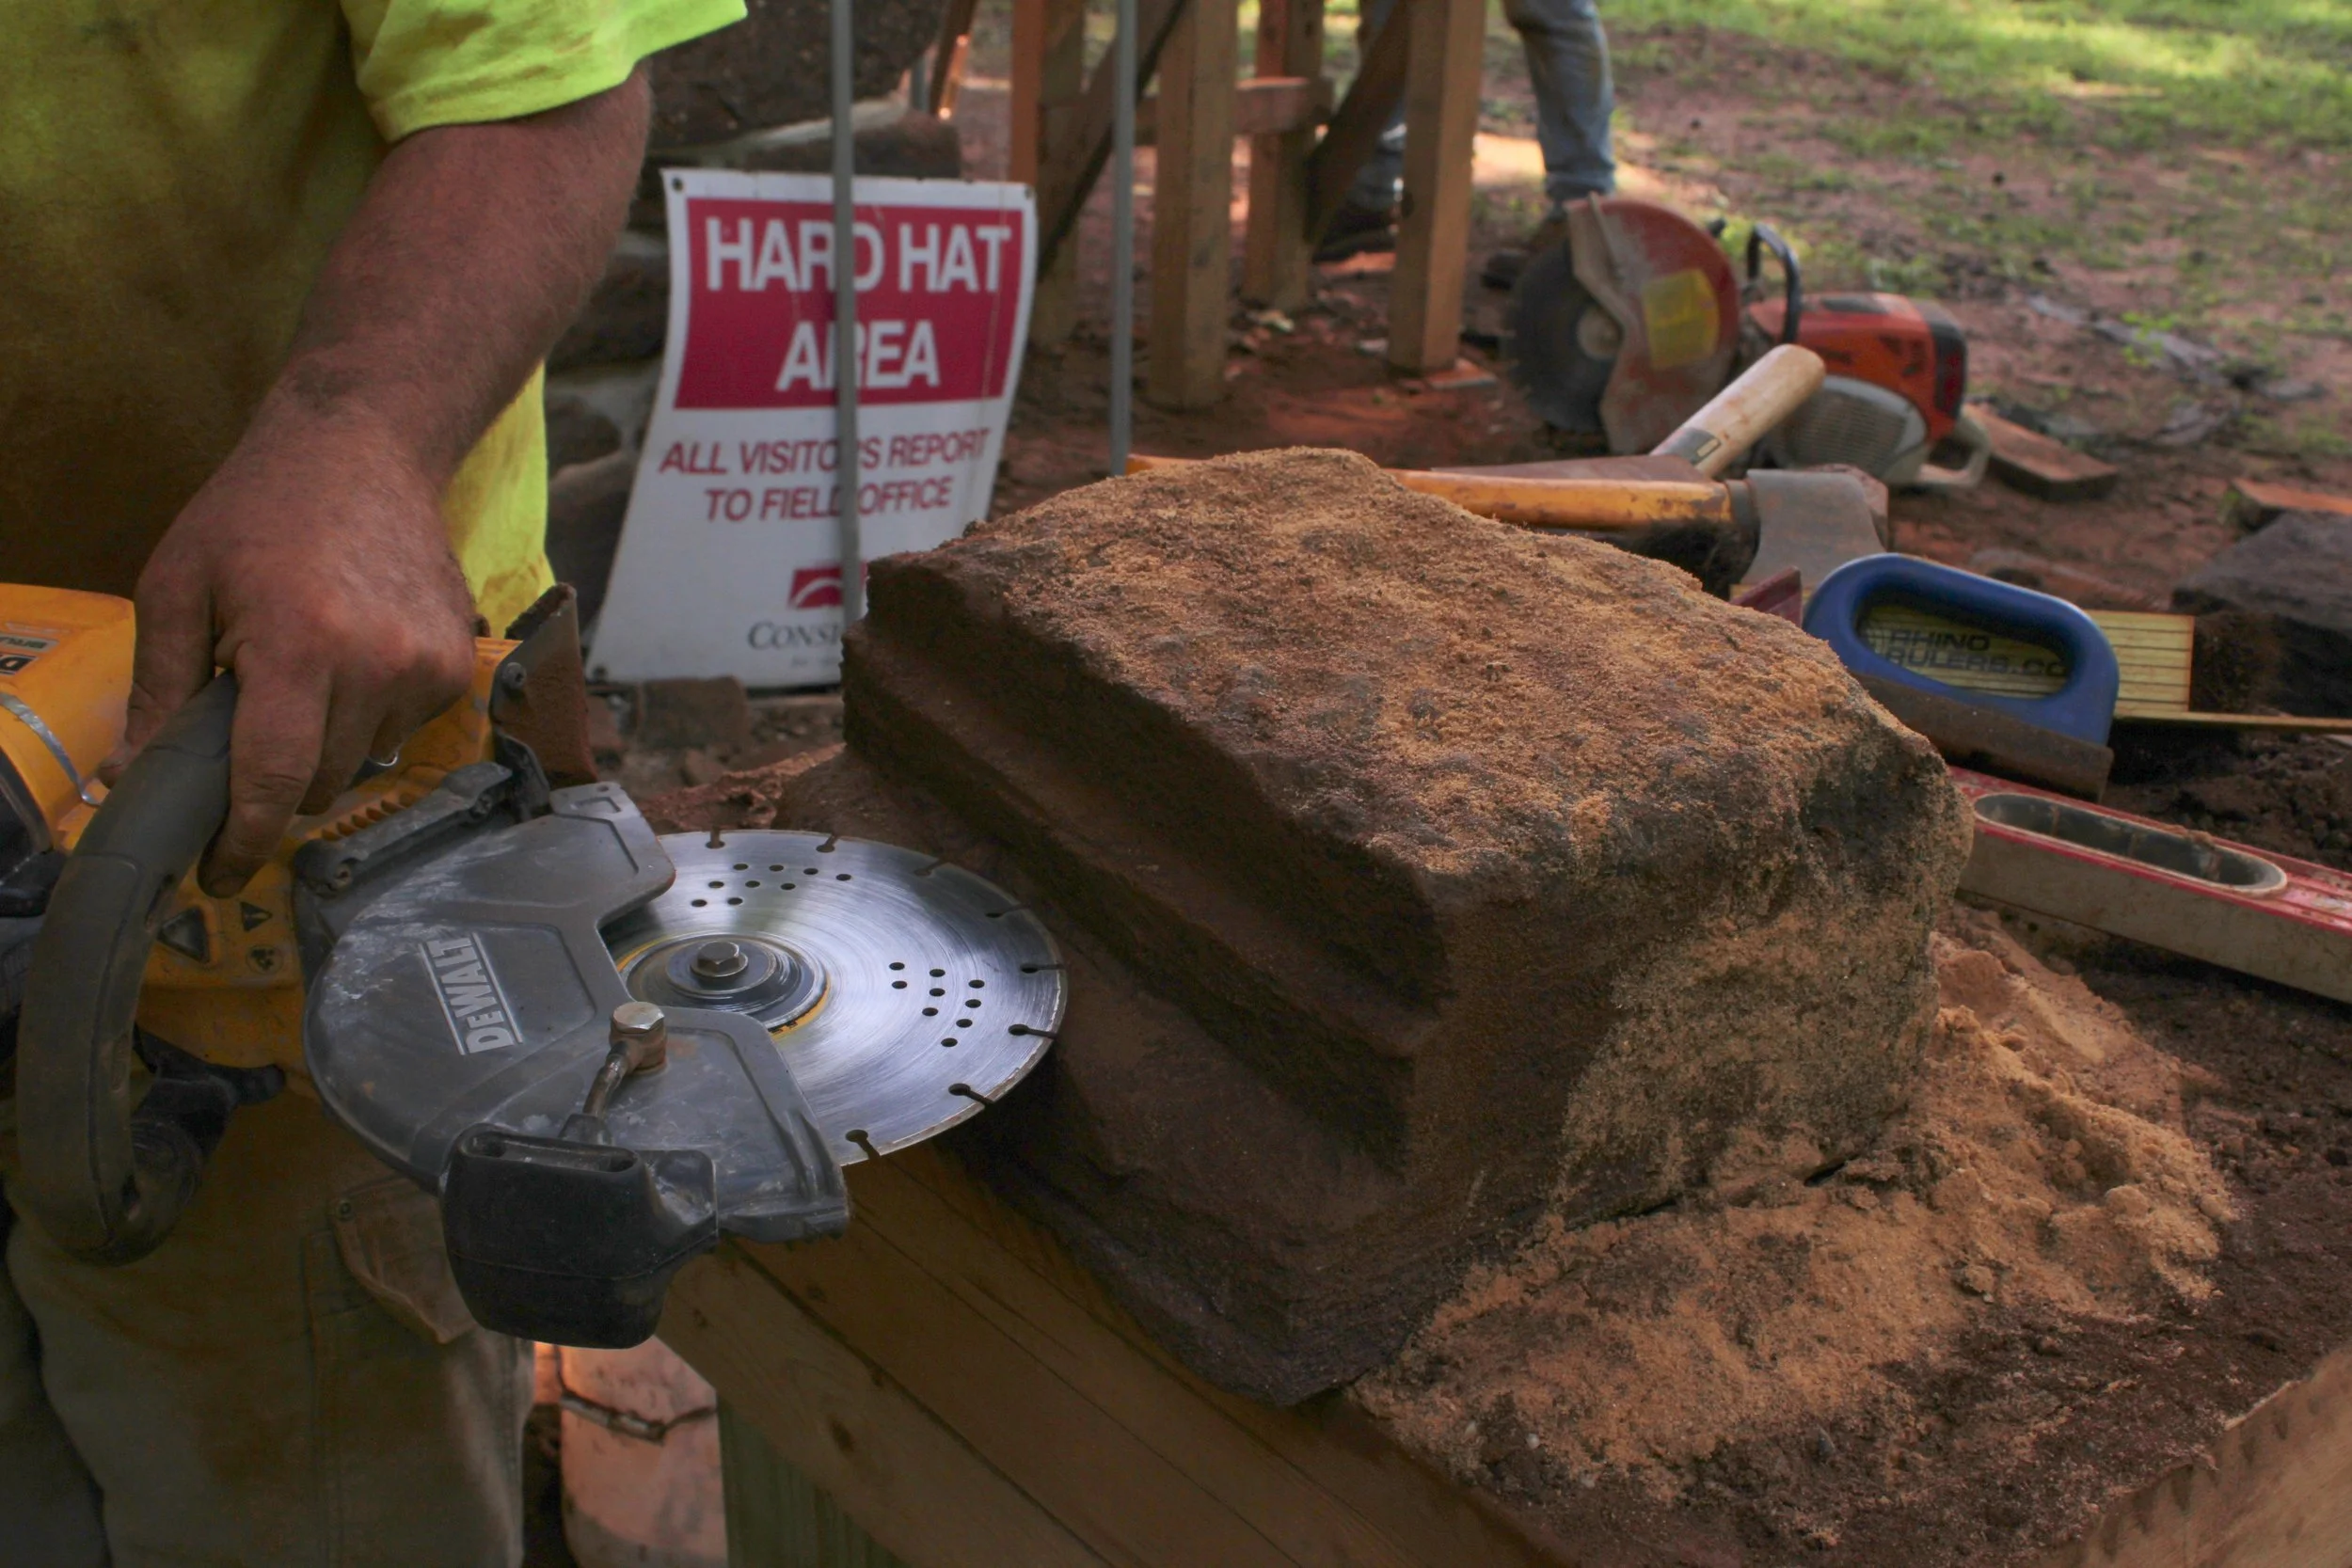
The saw is used to cut in staggered layers, with each layer first cut from the top, and then the side. This process is illustrated above on a piece of window trim, which has already been cut (as the author was unable to take photos when this was done to the cornice-work). These layers are meant to roughly match the outlines given by the pencil markings and guide jig (shown below). The template, being the “negative” image, is also sometimes held up to the stone throughout the shaping process to check formation.

Finish Work
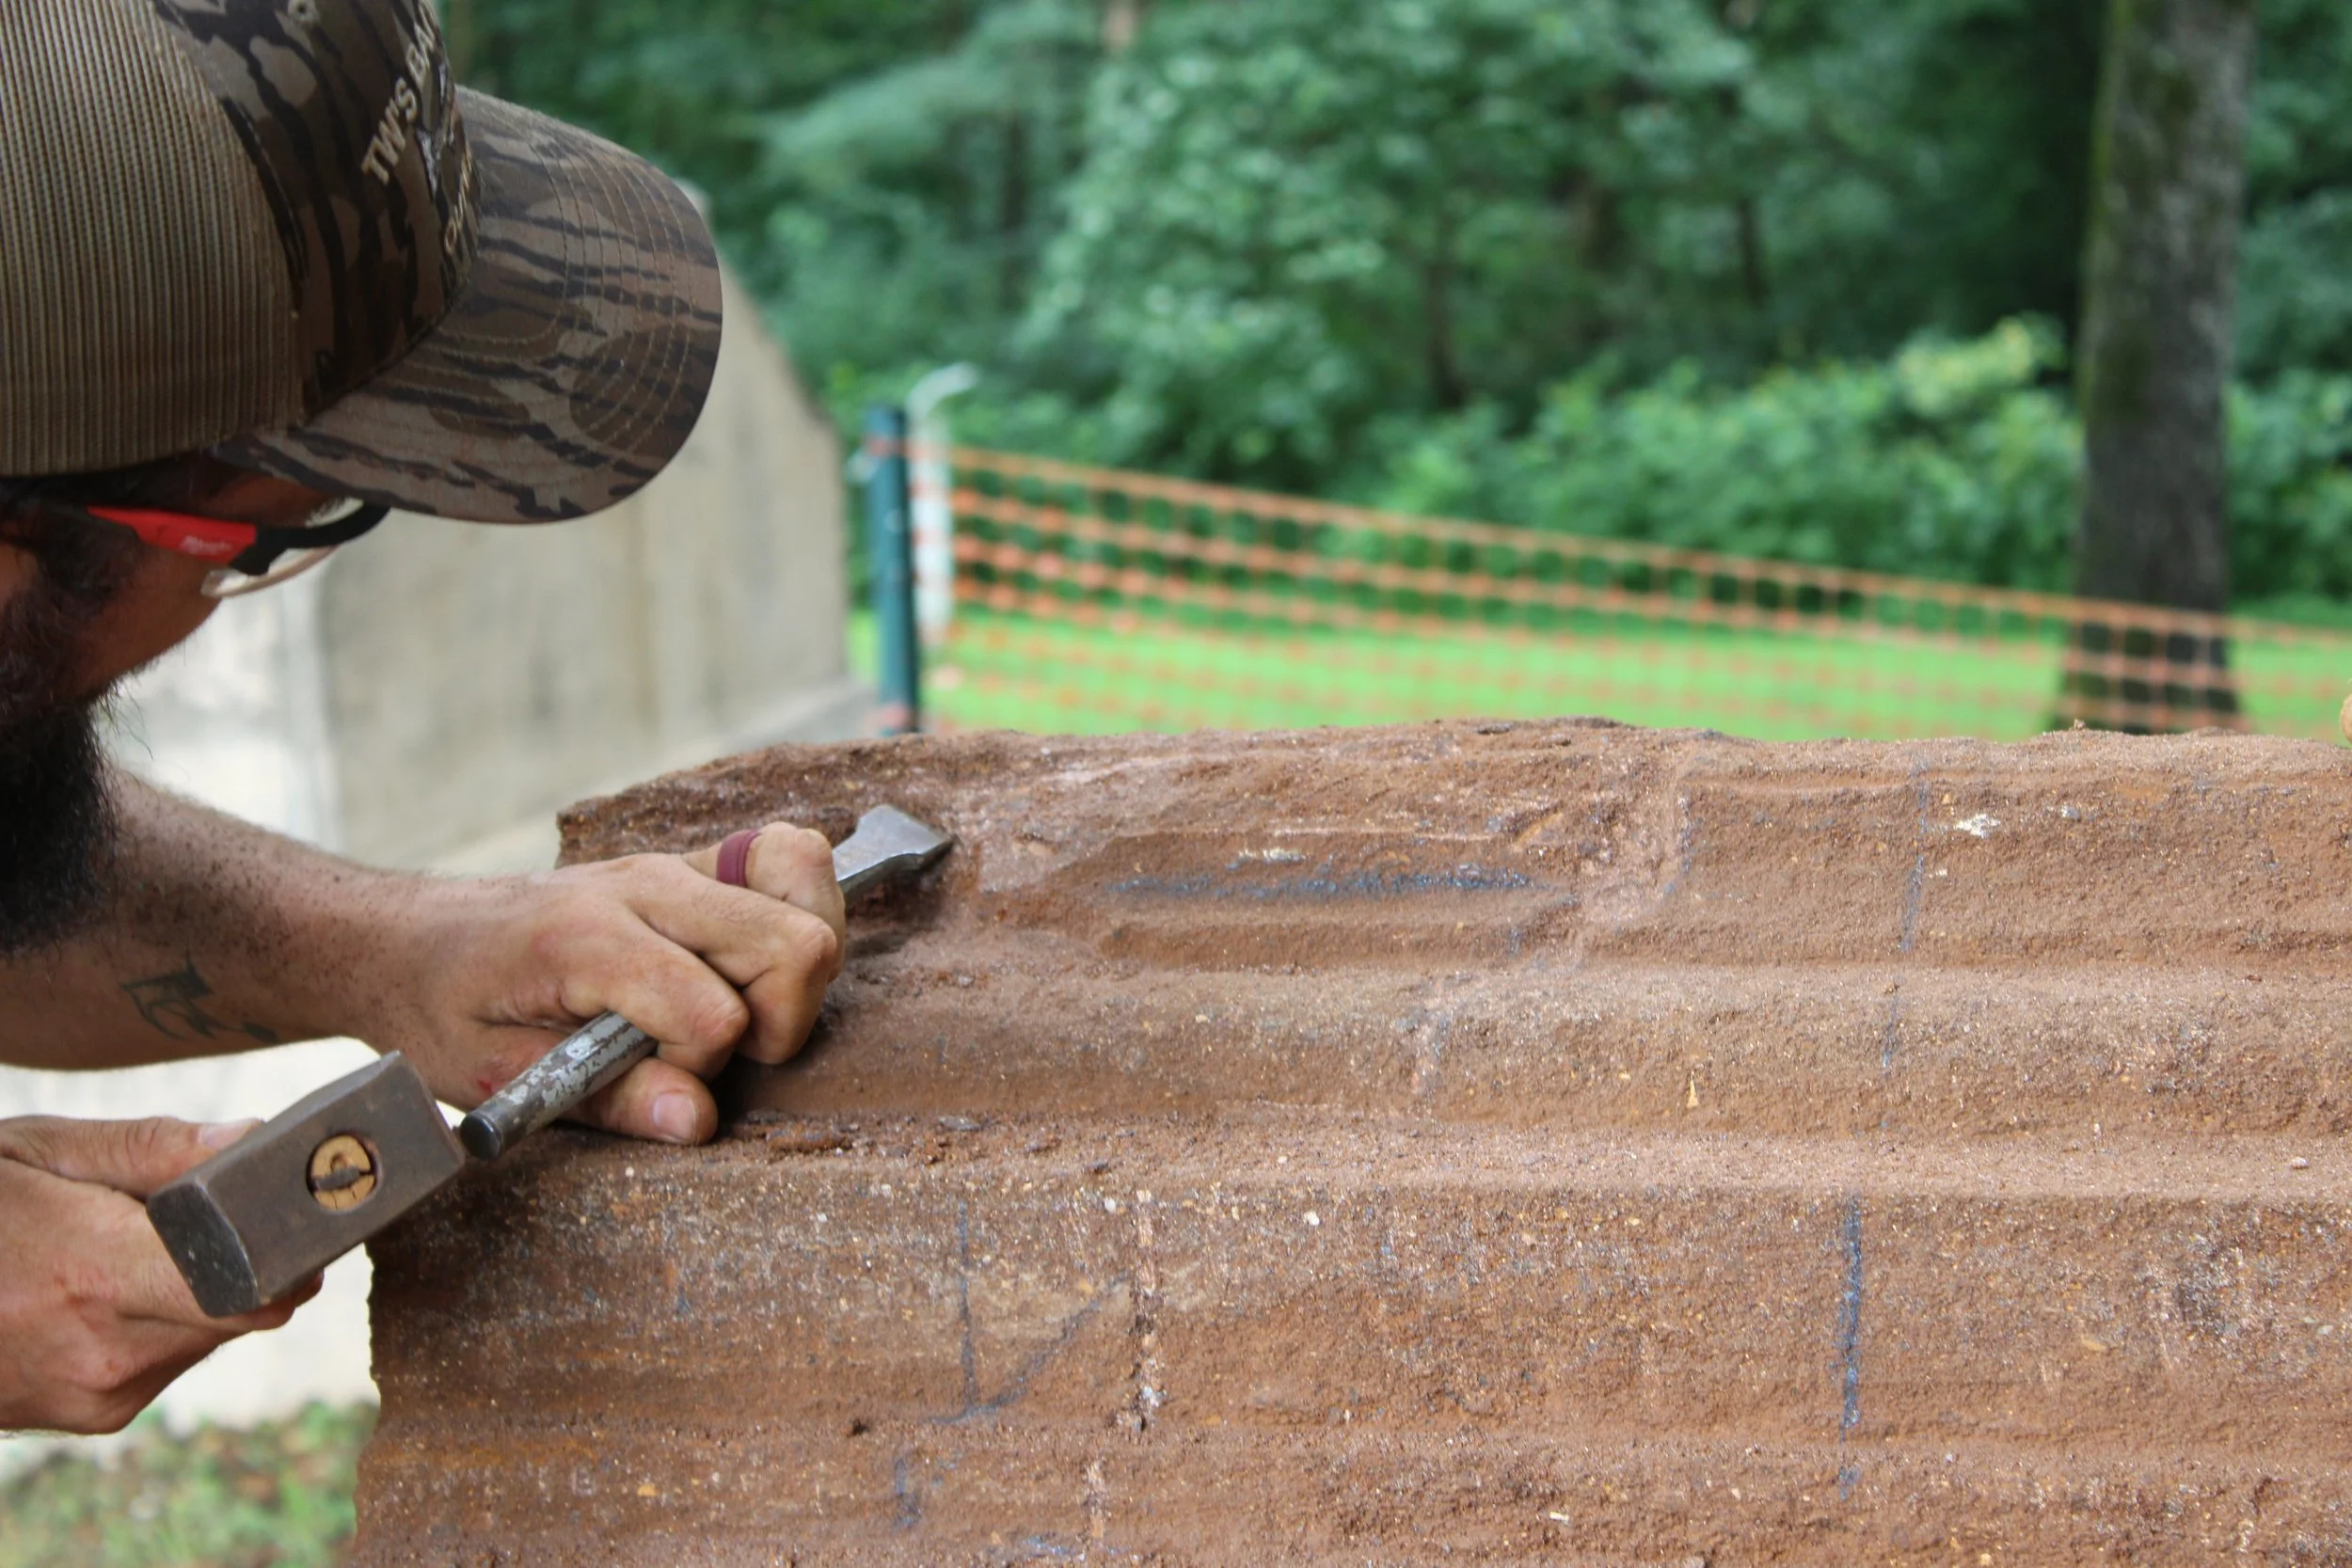
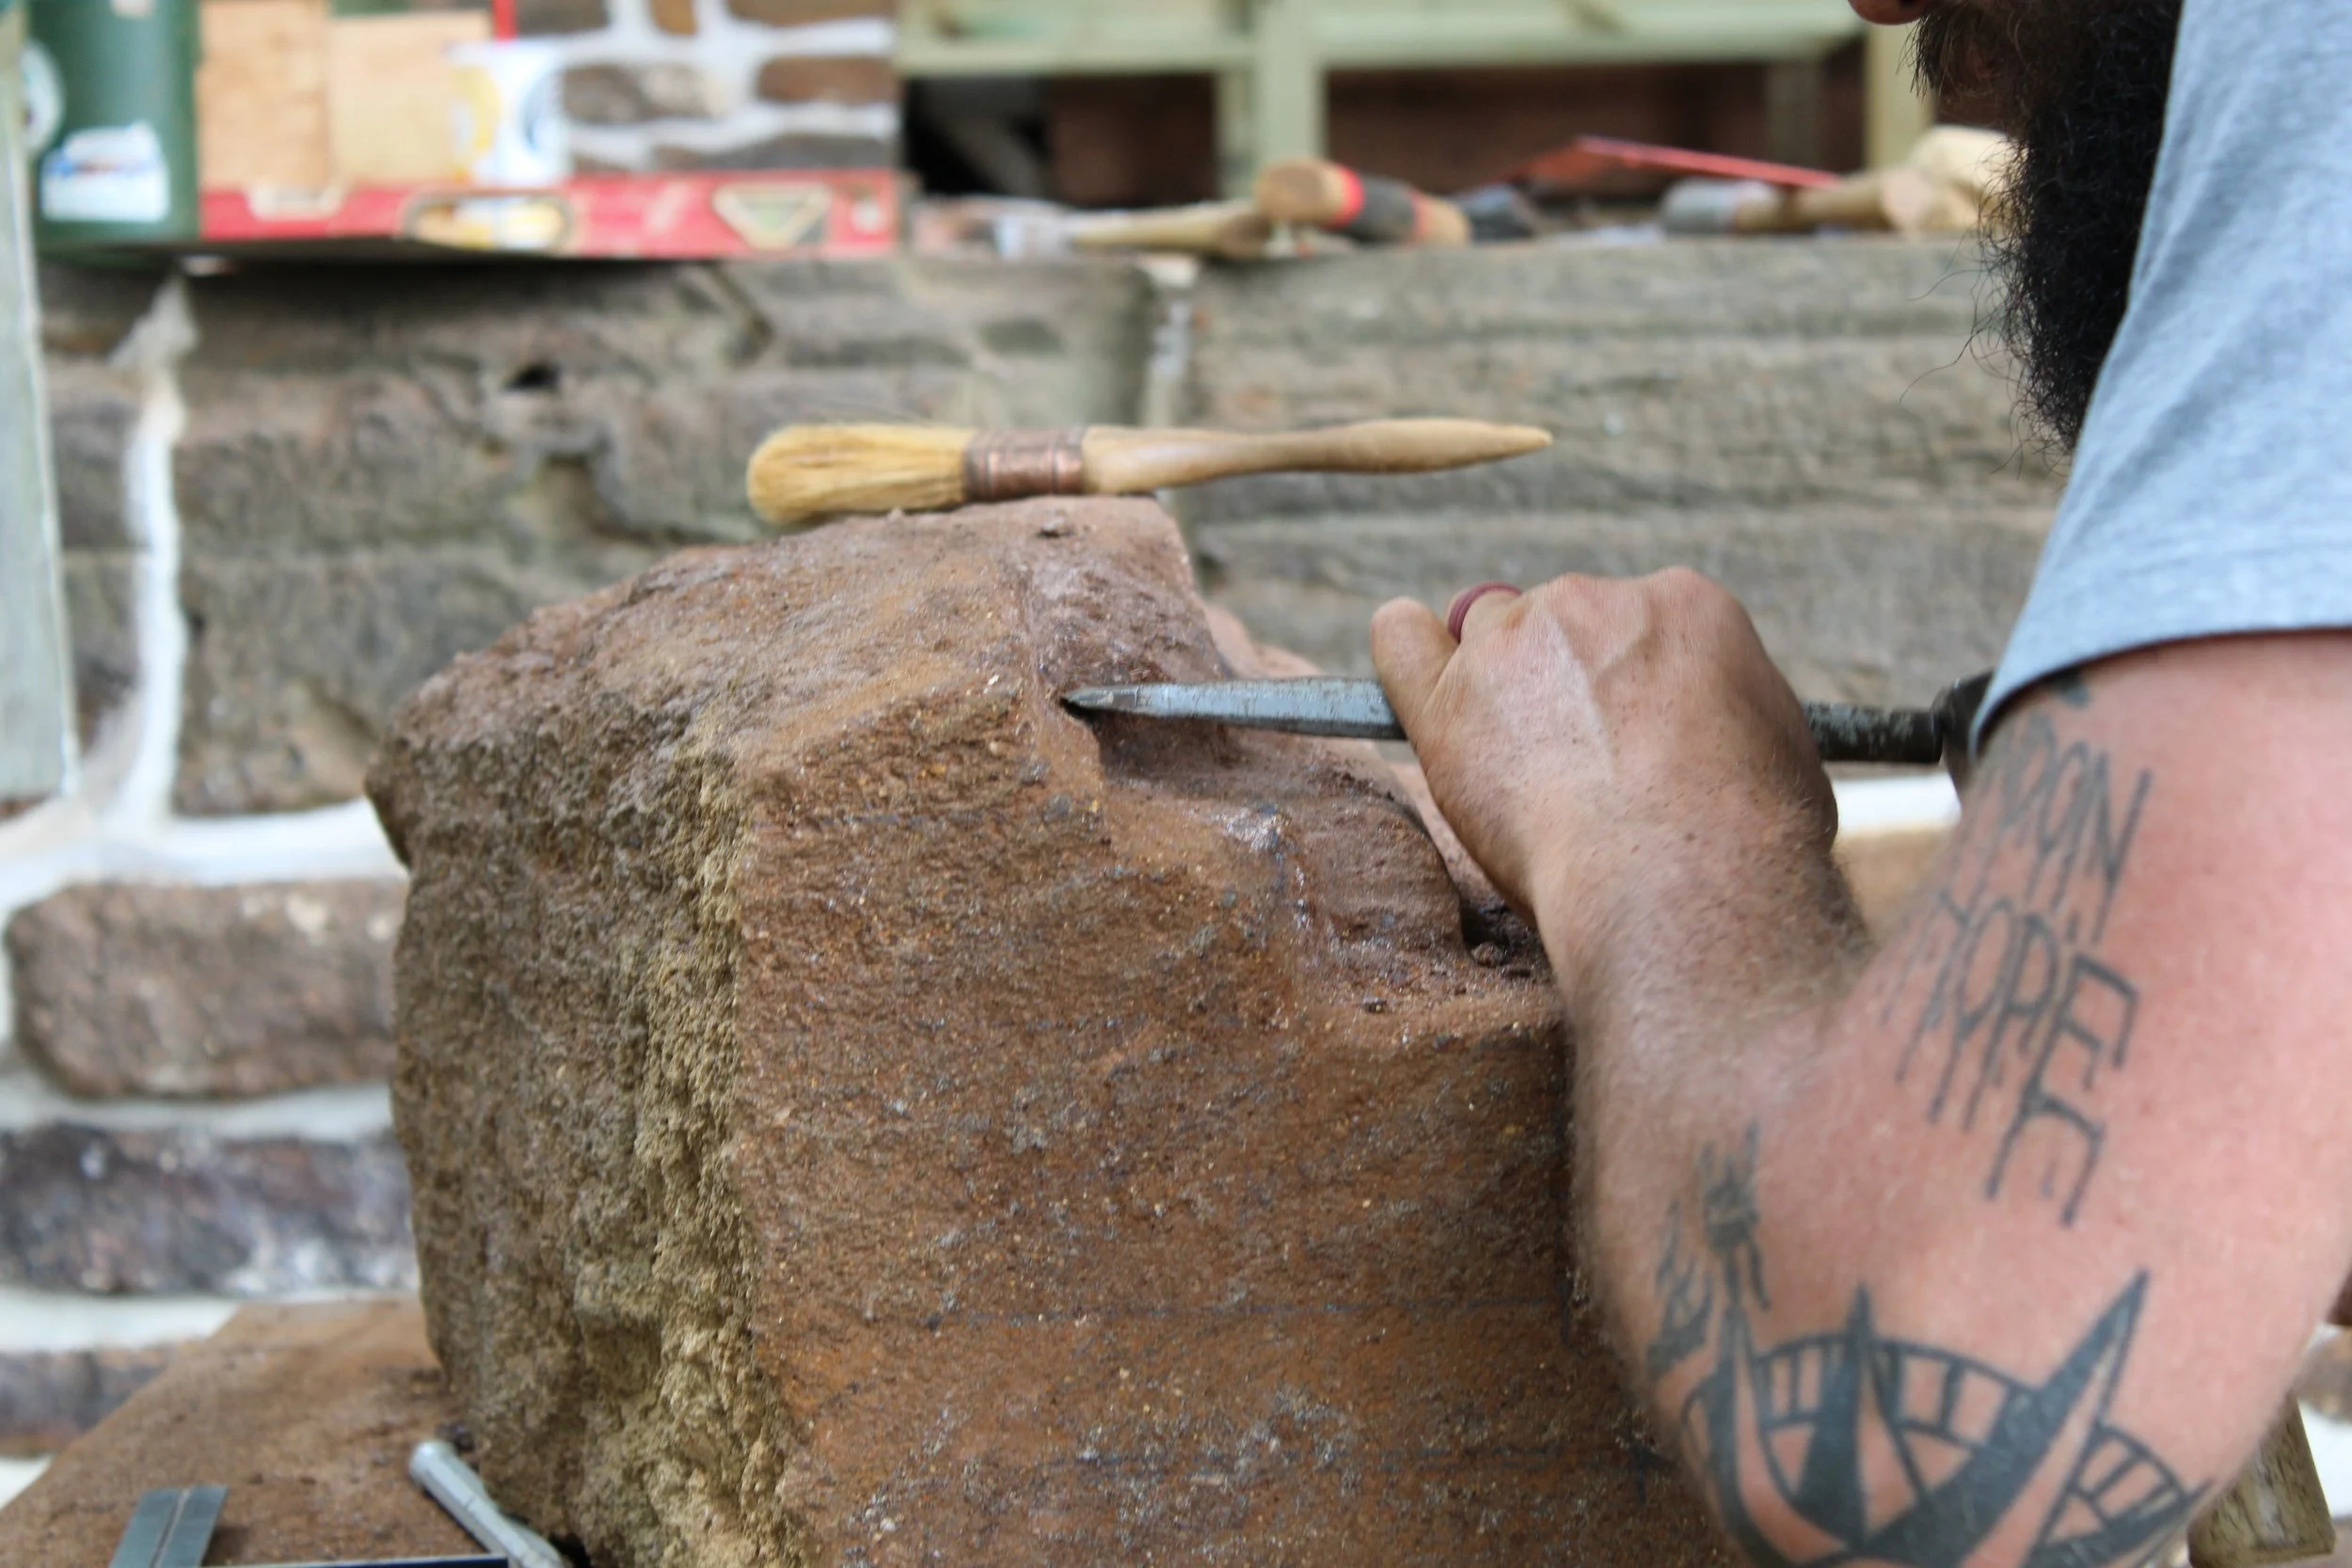
After the stone has been cut to match the general outlines of specification, it is refined to match the originals through light chisel work, stone rubbing, and sanding. In the image below, Hunter chisels the cornice piece to match his guide line.
Following any chisel work, a stone rubbing tool is used to smooth the surface of the stone, and refine rounded details. After the stone has been rubbed to match the desired form, finer adjustments are made by attaching sandpaper to a jig and rubbing back and forth.
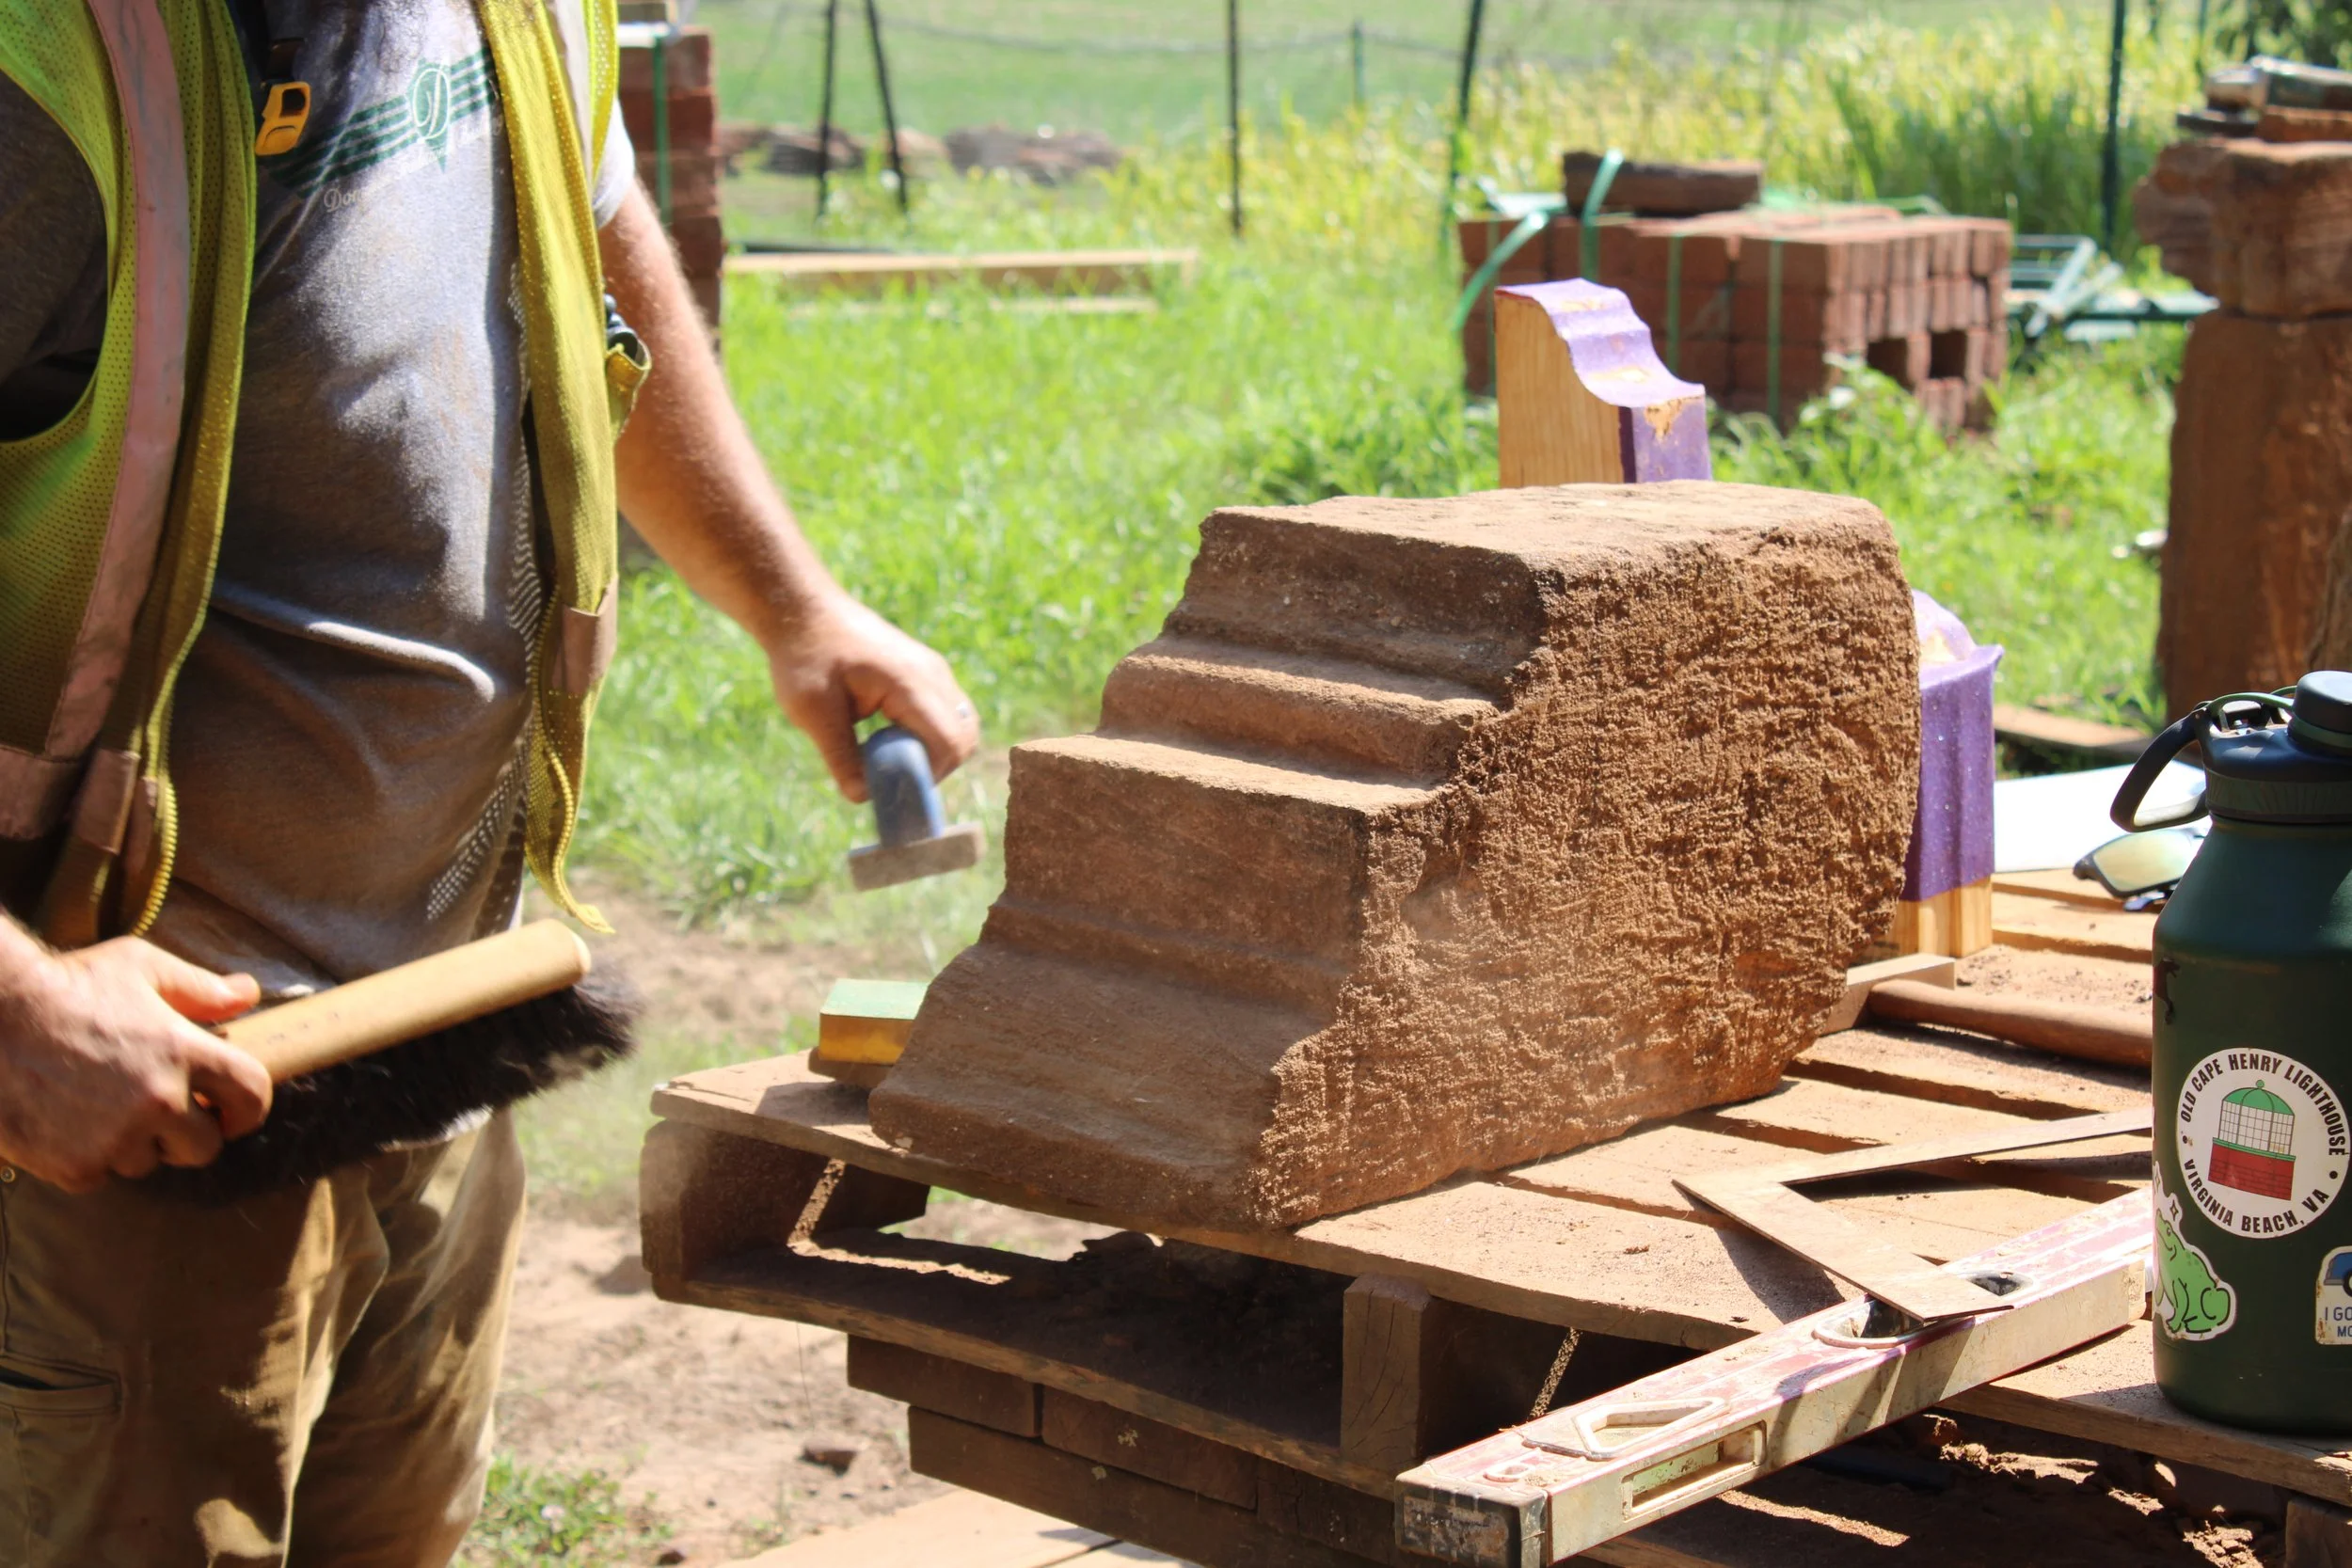
Mike Conway wiping away dust from refinement, holding a stone rubbing tool in his other hand.

The rubbing stone.
The jig with sandpaper attached.
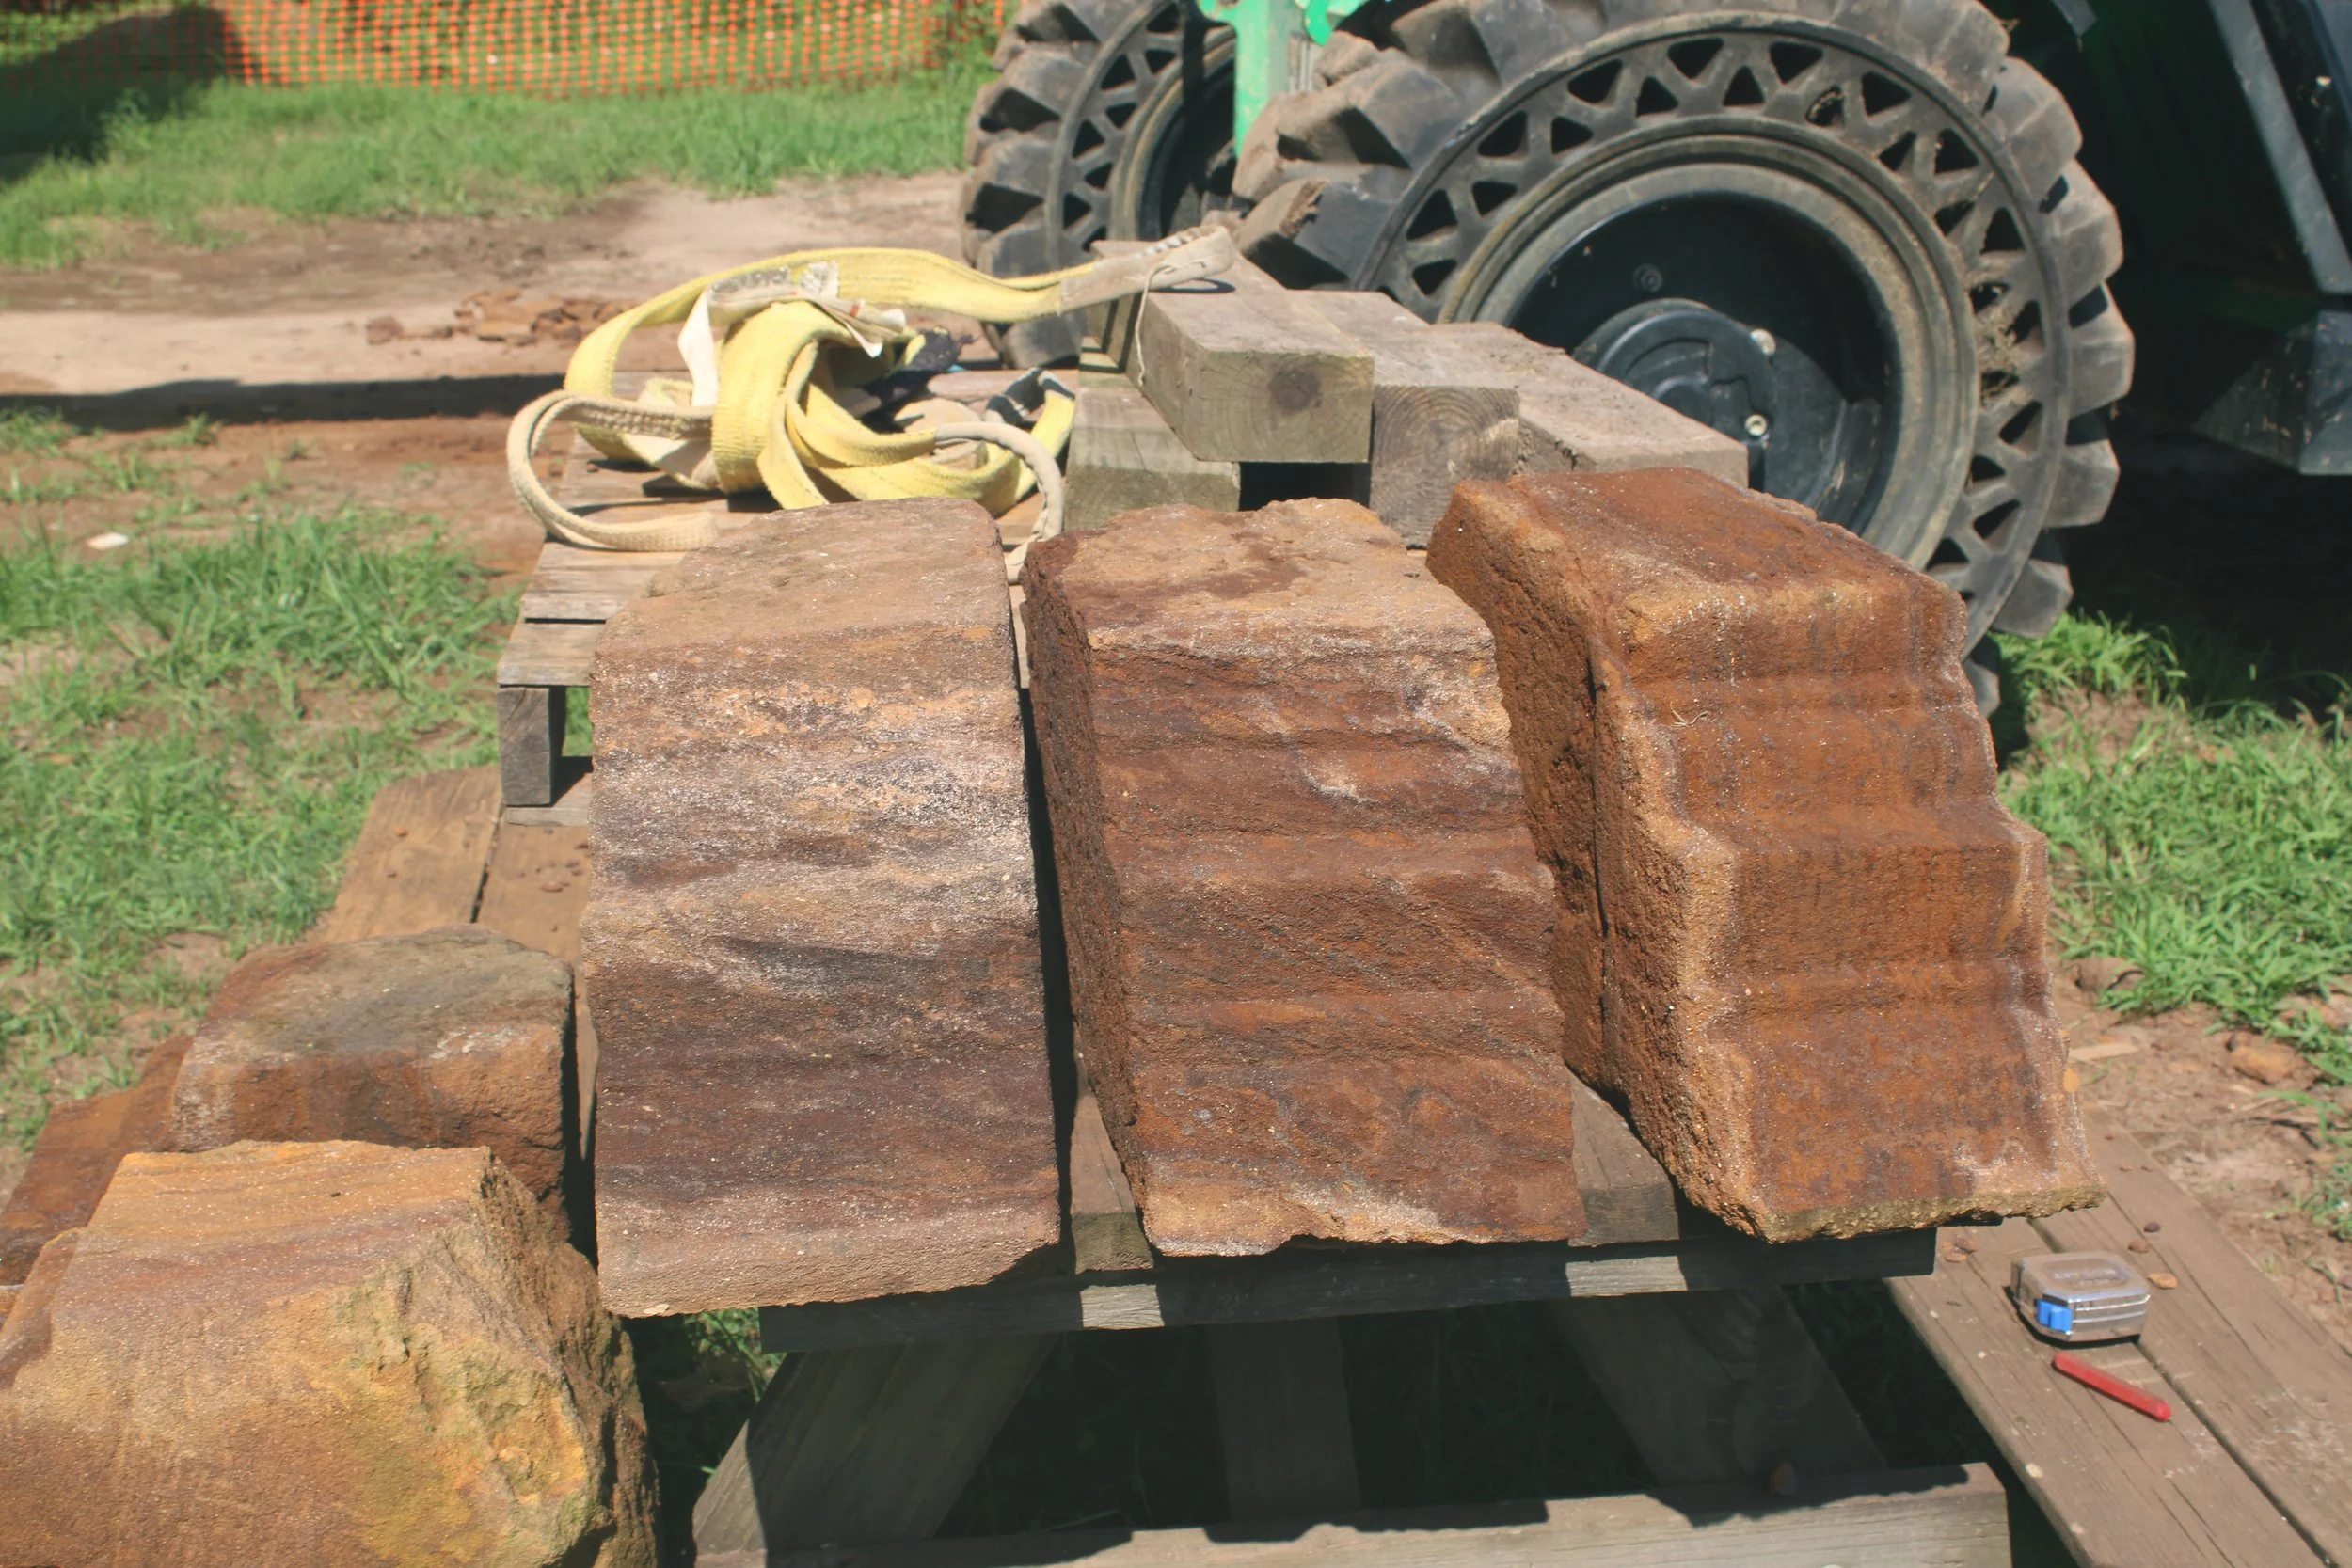
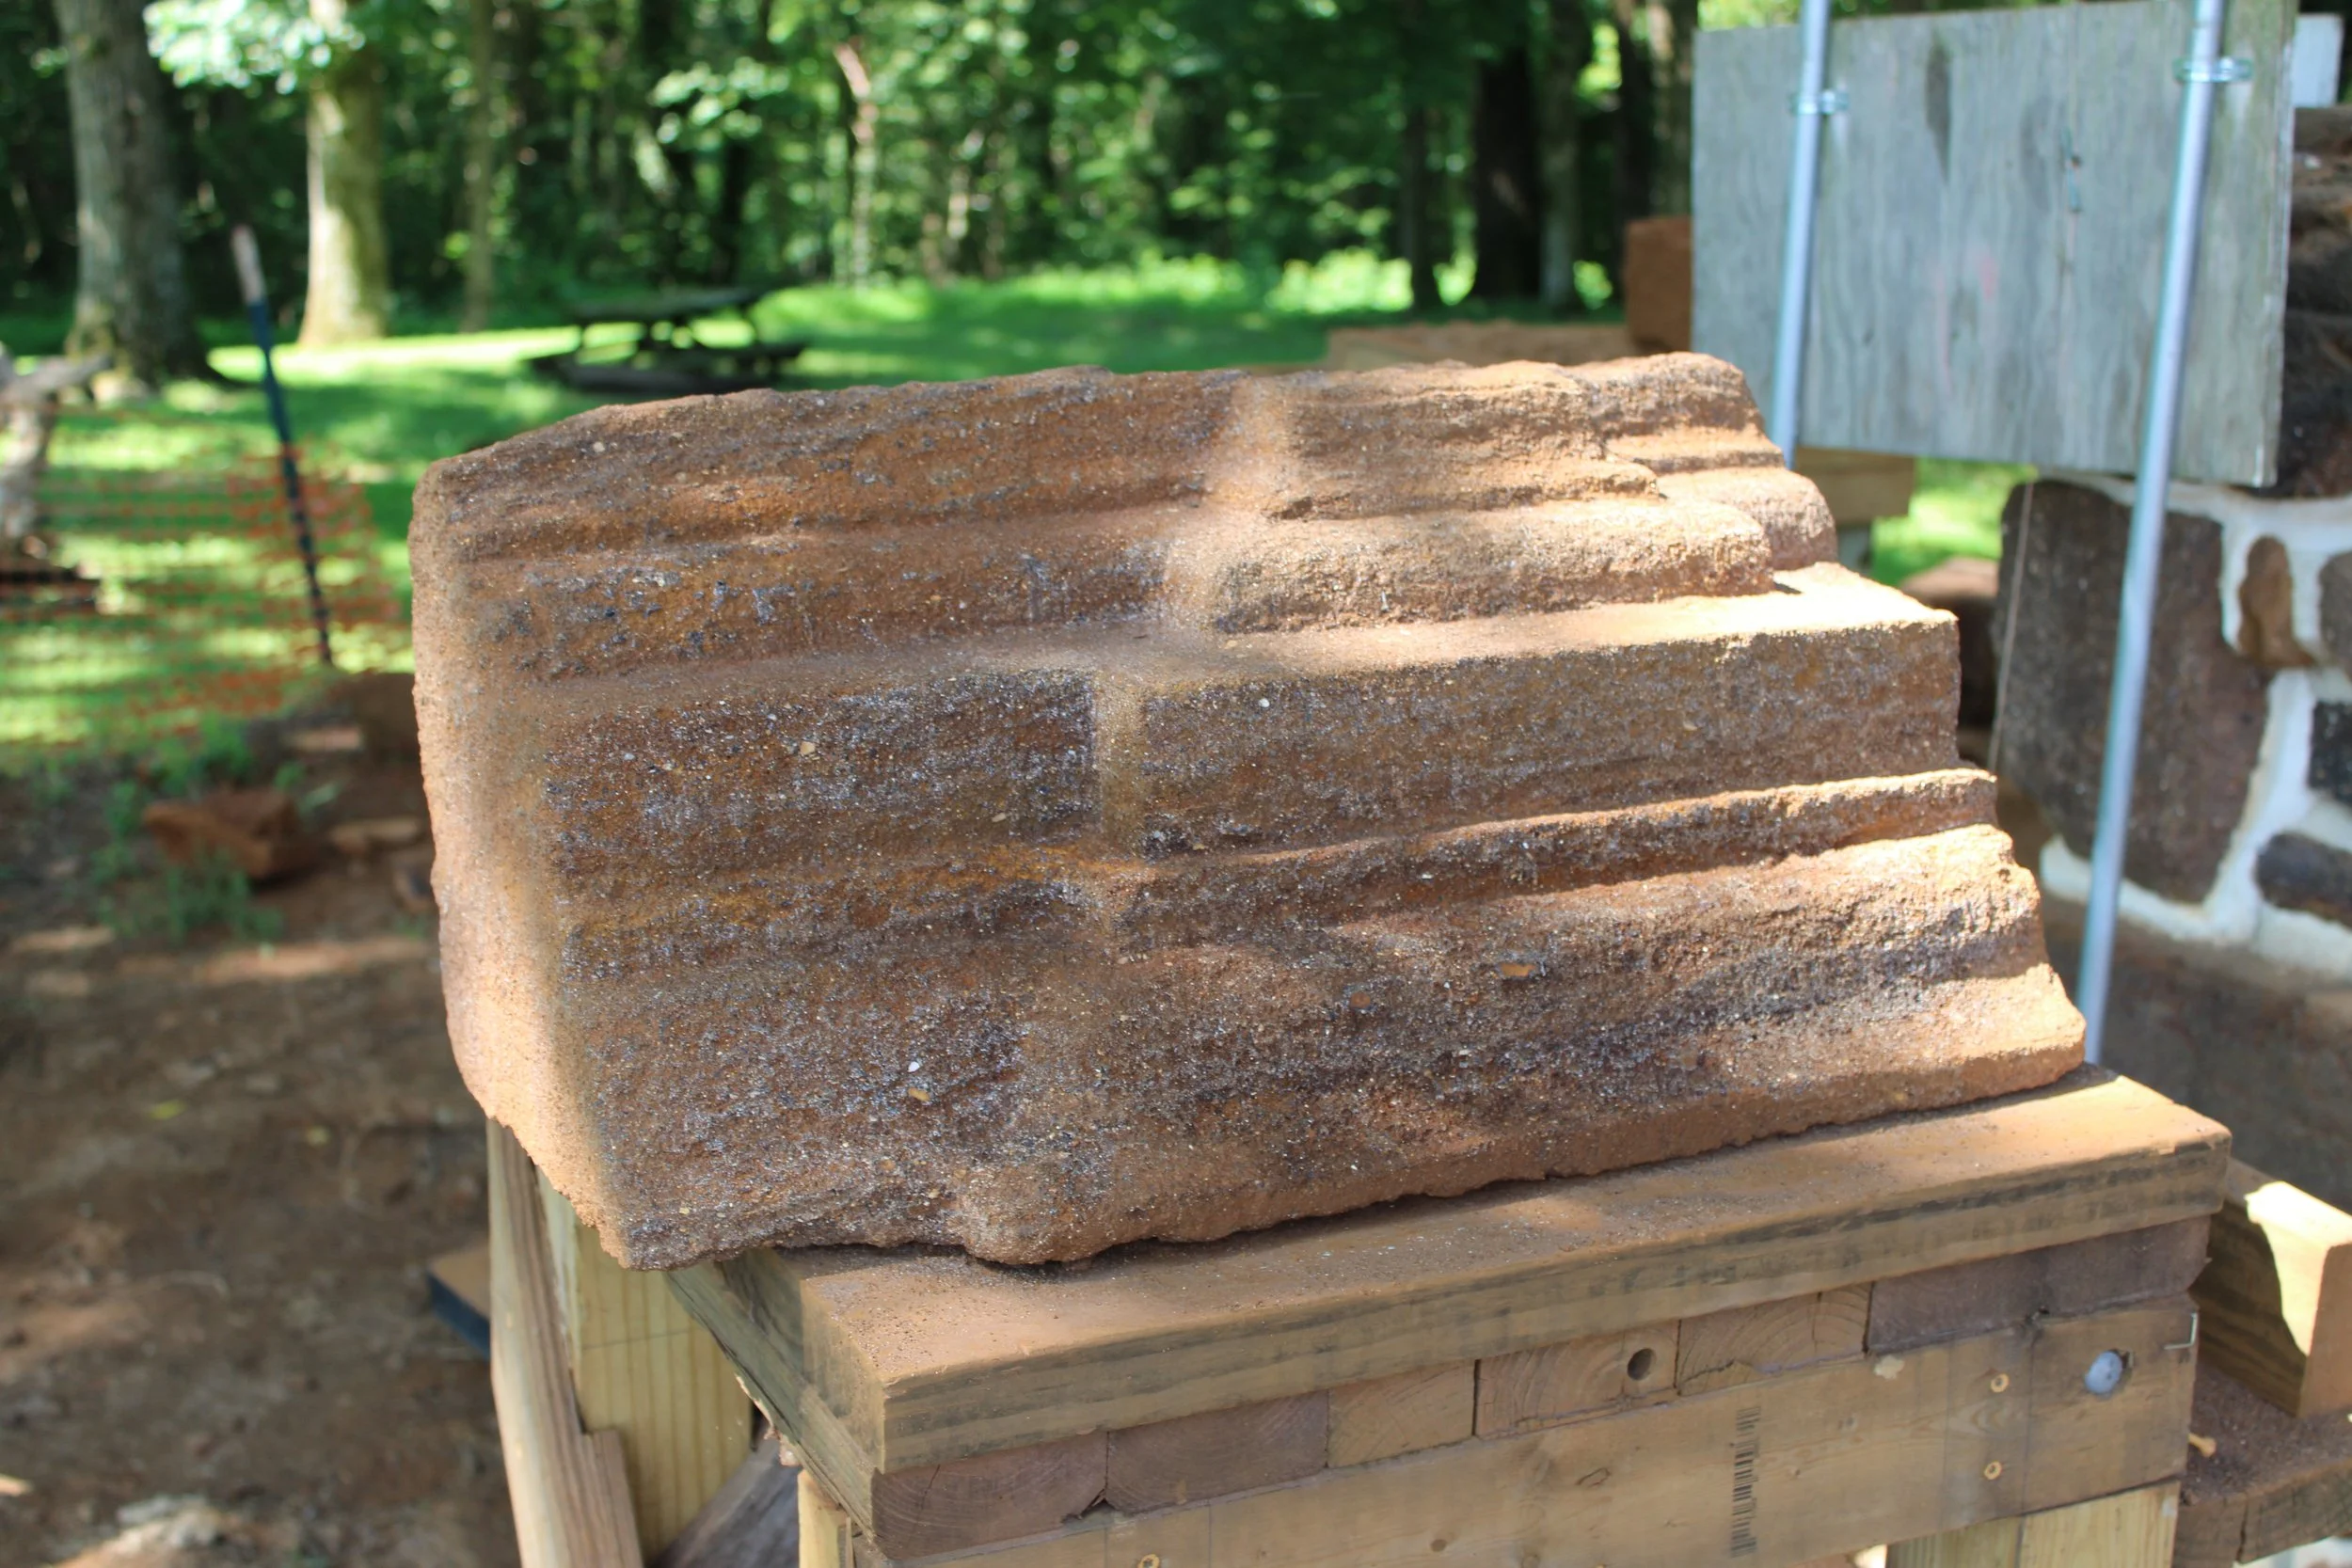
The finished cornice stones are shown below:
The Endpieces
Original portion of a decorative endpiece.
For the decorative endpieces, further refinement is required, and thankfully an original portion survives for observation.
New guide markings are added to the side of the end stone, which has a larger depth than the center stones. The non-raised portions are chiseled inward, starting from the top, and working down. In the picture below, Hunter chisels the stone inward around the projecting detail work.
After days of meticulous work, the stone masons achieve the result shown below. The Menokin ruin is currently abuzz with excitement and activity, and now is the perfect time to pay us a visit, and experience the fascinating site for yourself.
-
Lorenzo Short is a rising junior and history major from the College of William & Mary.
Learn more here.